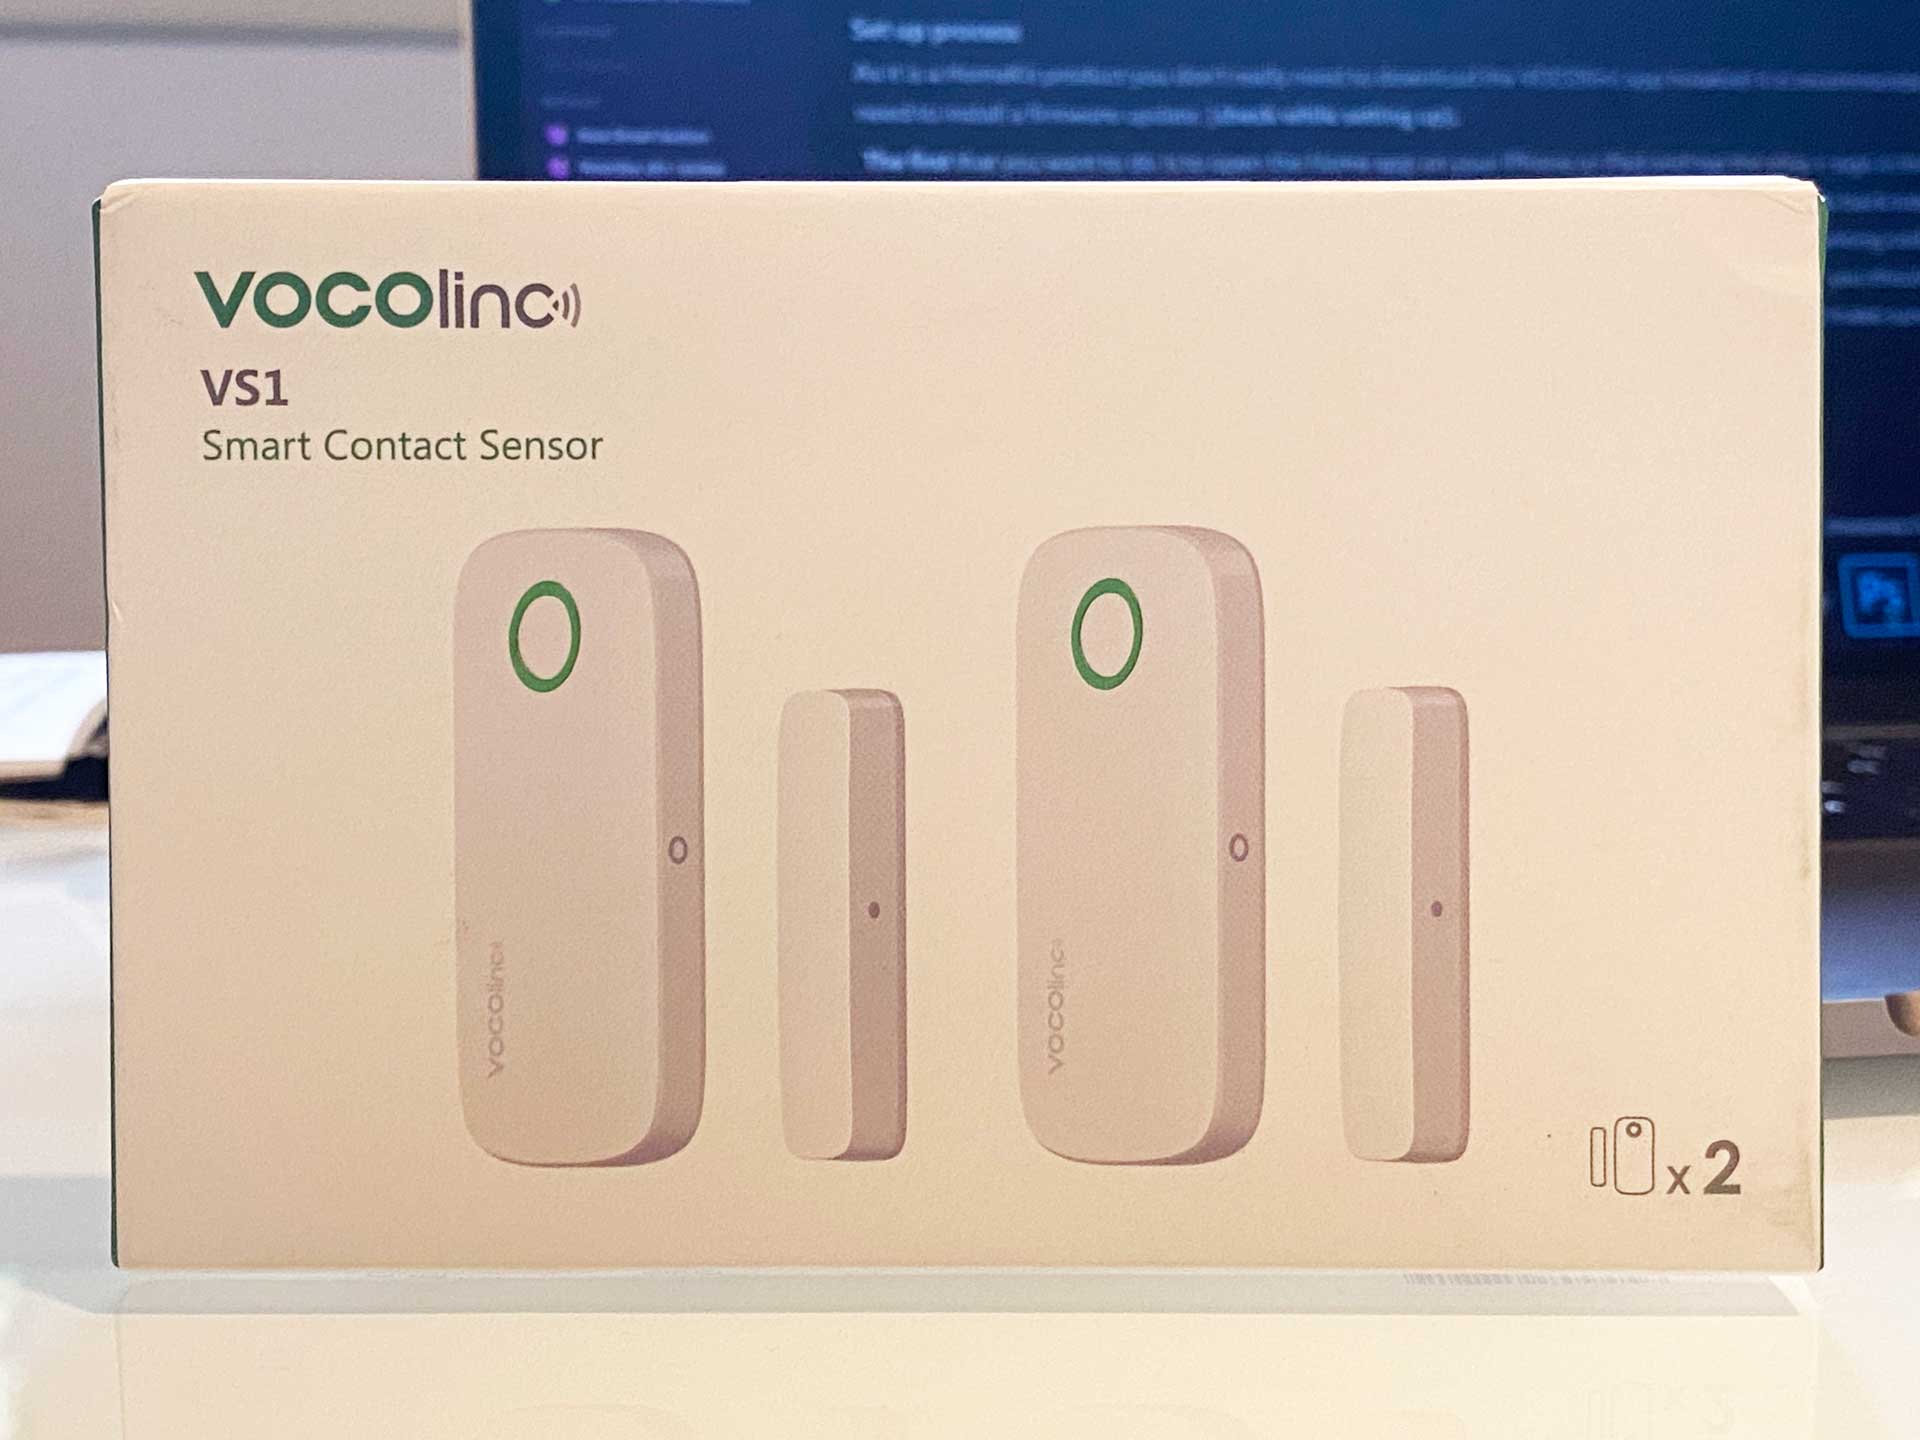
VOCOlinc has been around for some time now, and they have a pretty wide range of smart home products. They work with Apple HomeKit, Google Assistant, and Alexa. Today I will be looking at the VOCOlinc VS1 door and window sensor, which works exclusively with Apple HomeKit. I have been using it for a couple of months now, so how does it work and perform? Let’s take a look.
Specifications
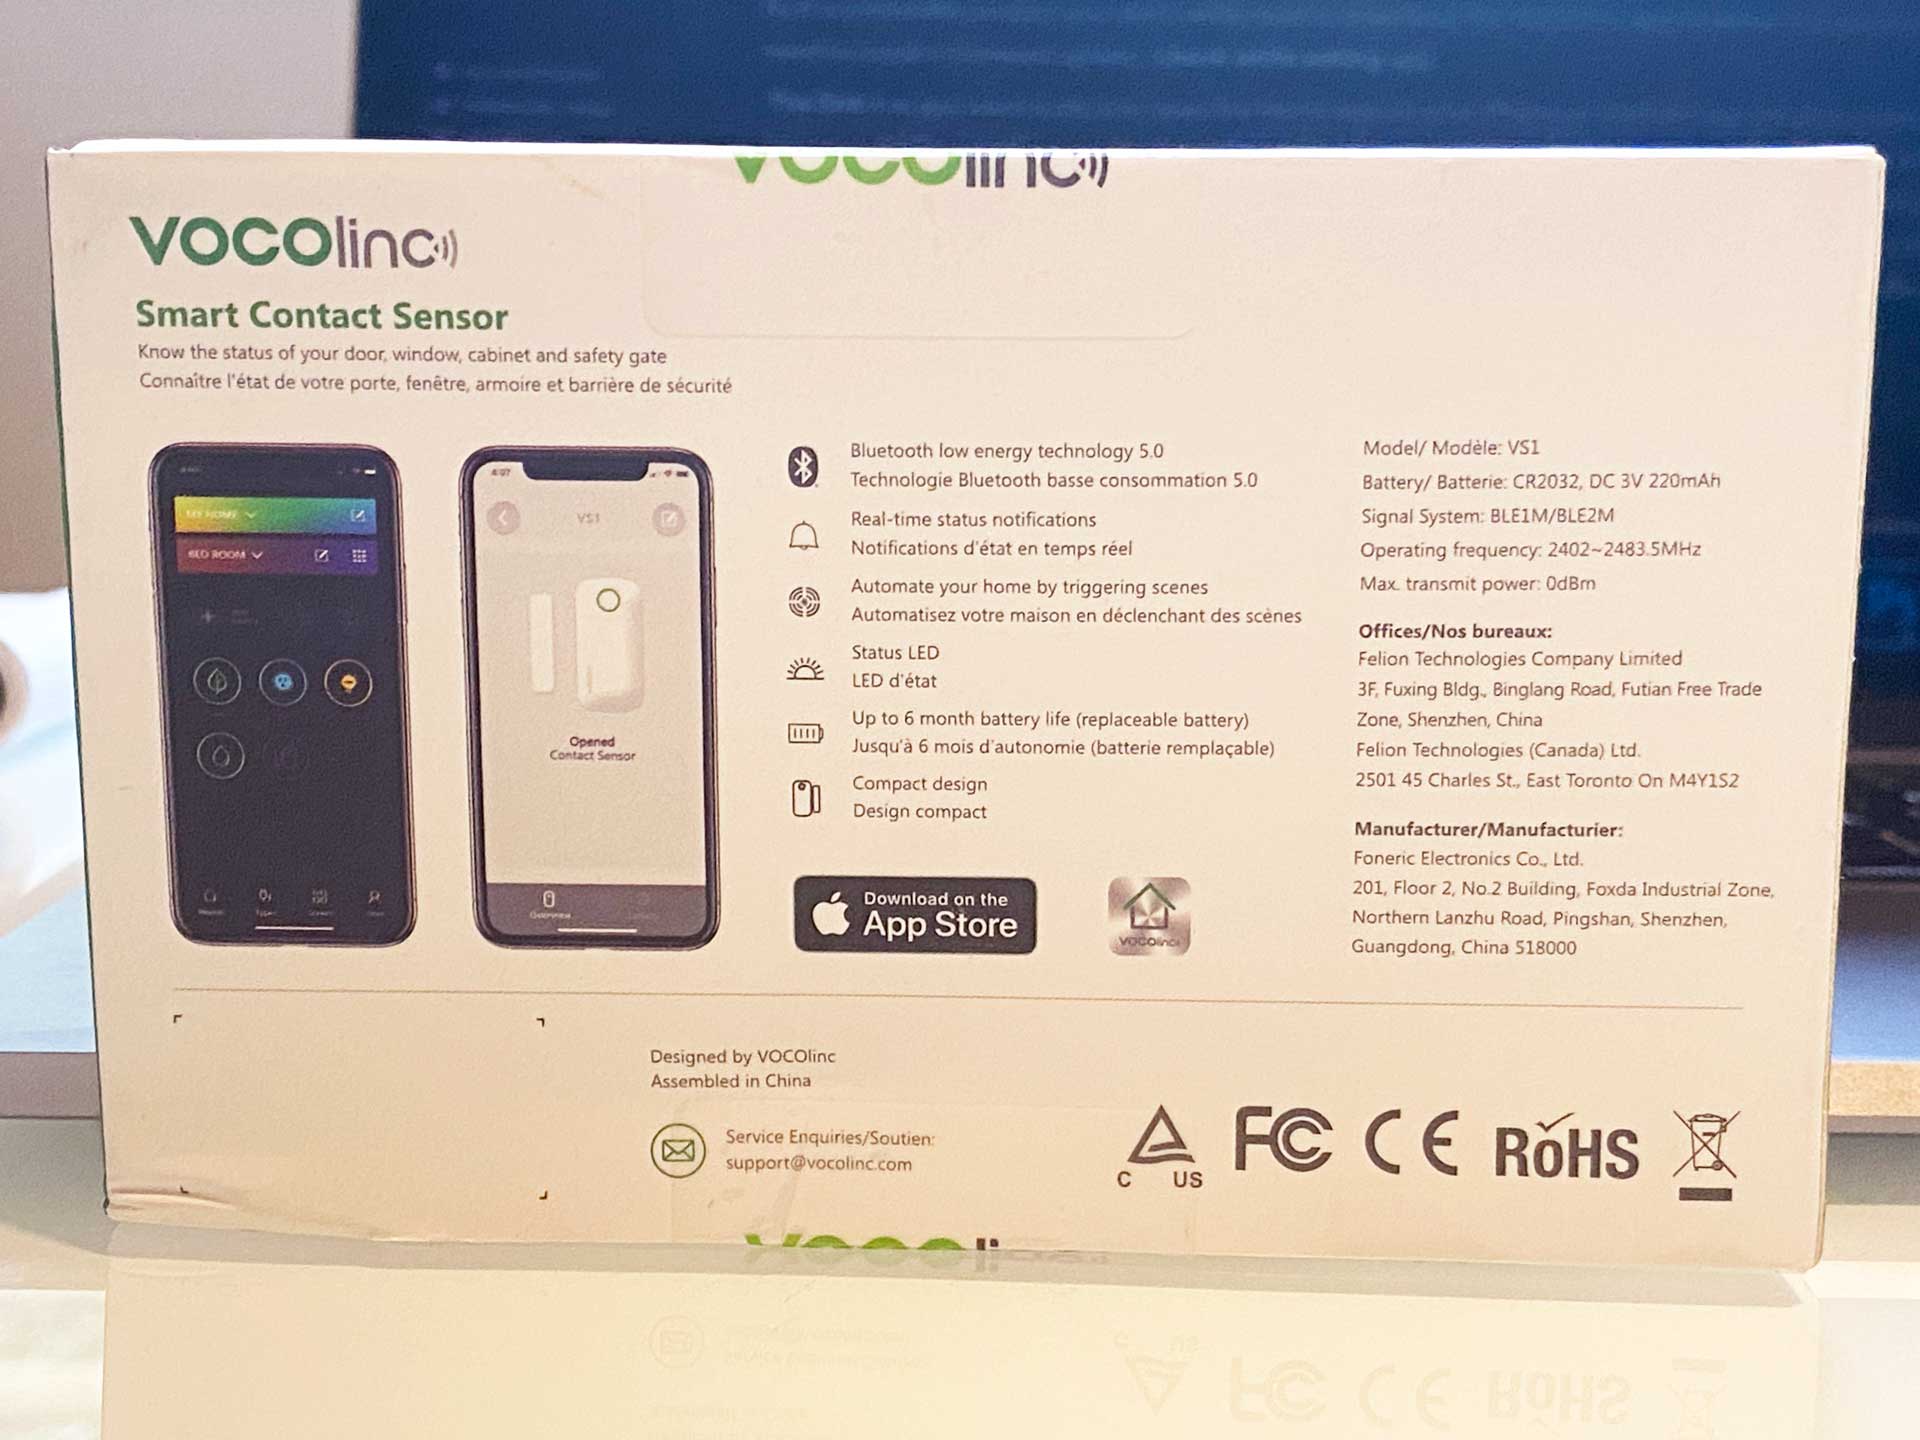
- Bluetooth 5.0
- Battery powered CR2032
- Works with Apple HomeKit
- Battery life up to 6 months
What’s in the box?
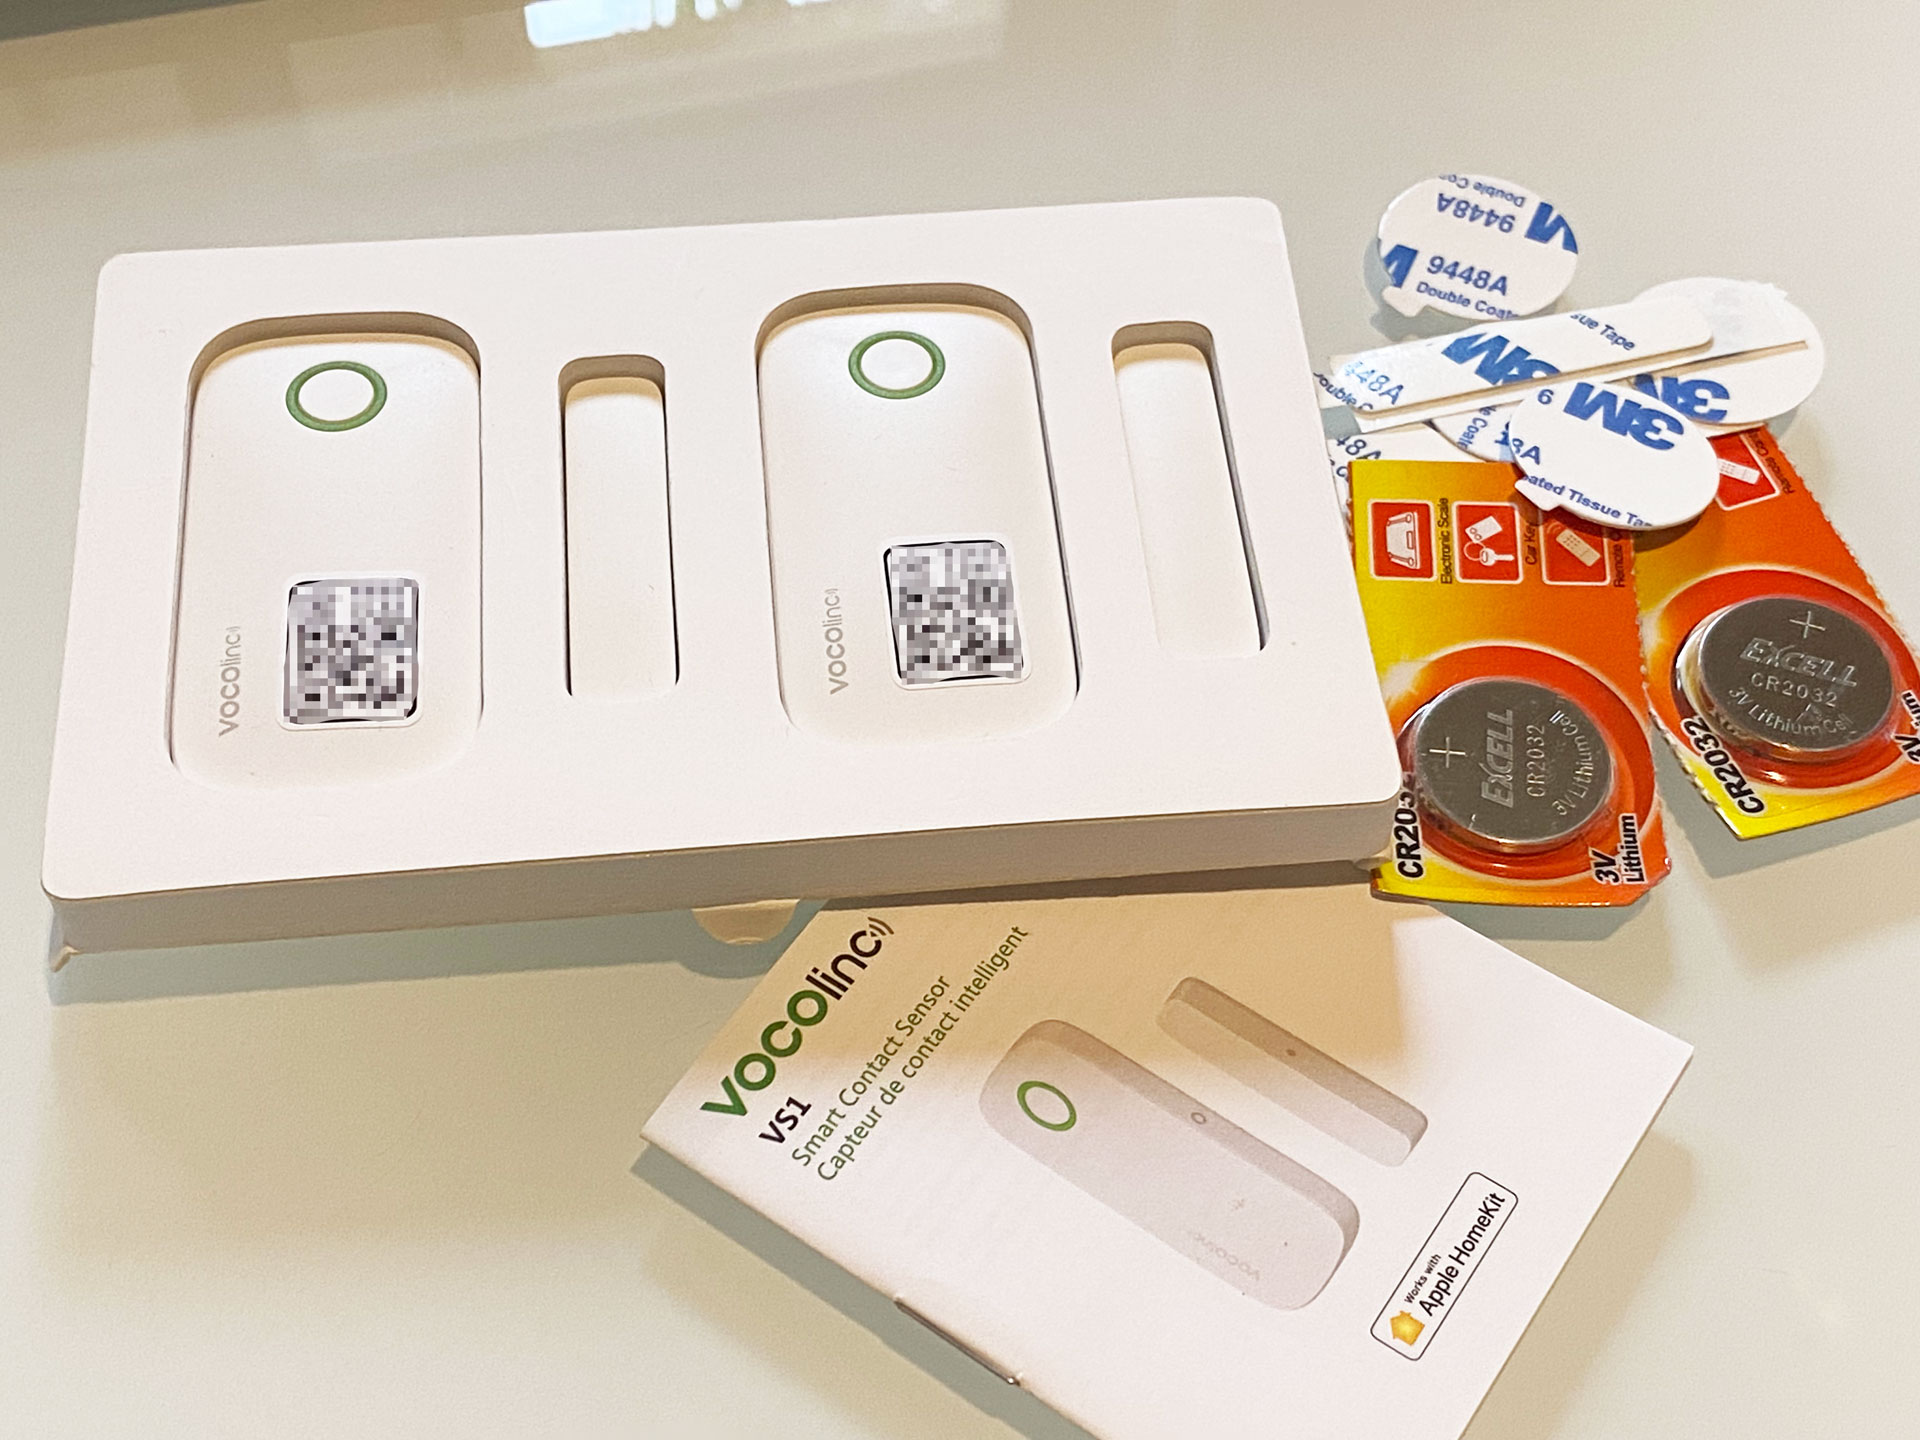
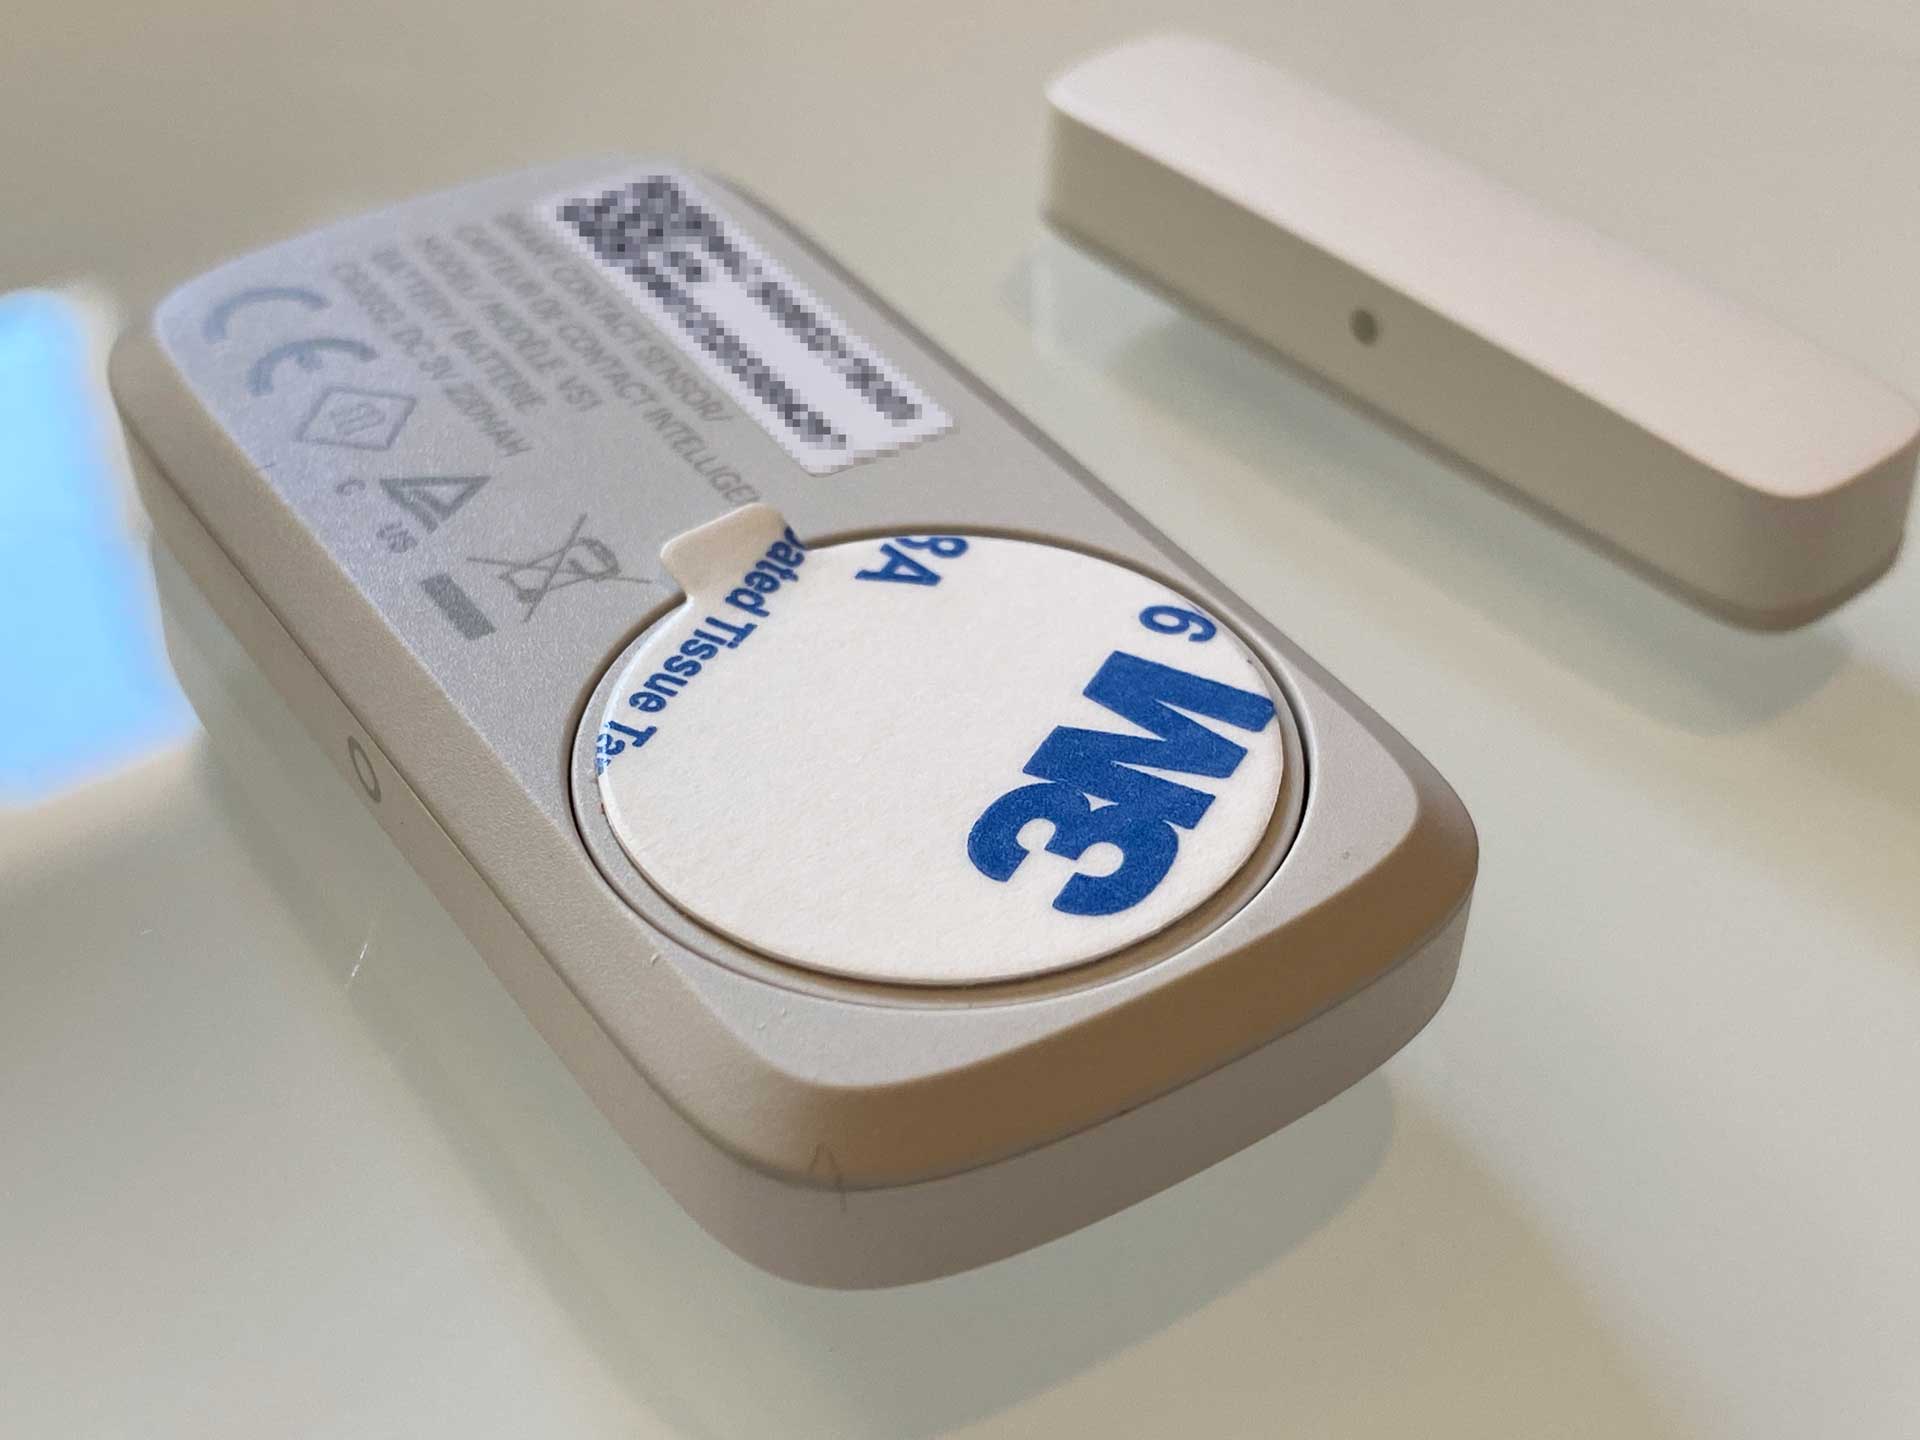
The VS1 comes in two versions. A single pack or a double pack. I got the double pack here as it was a better value. However, it will depend on your region and retailer. In the box, you will find the sensor and the magnetic piece itself, a CR2032 battery to power the sensor, some adhesive 3M tapes, and the user manual.
Design
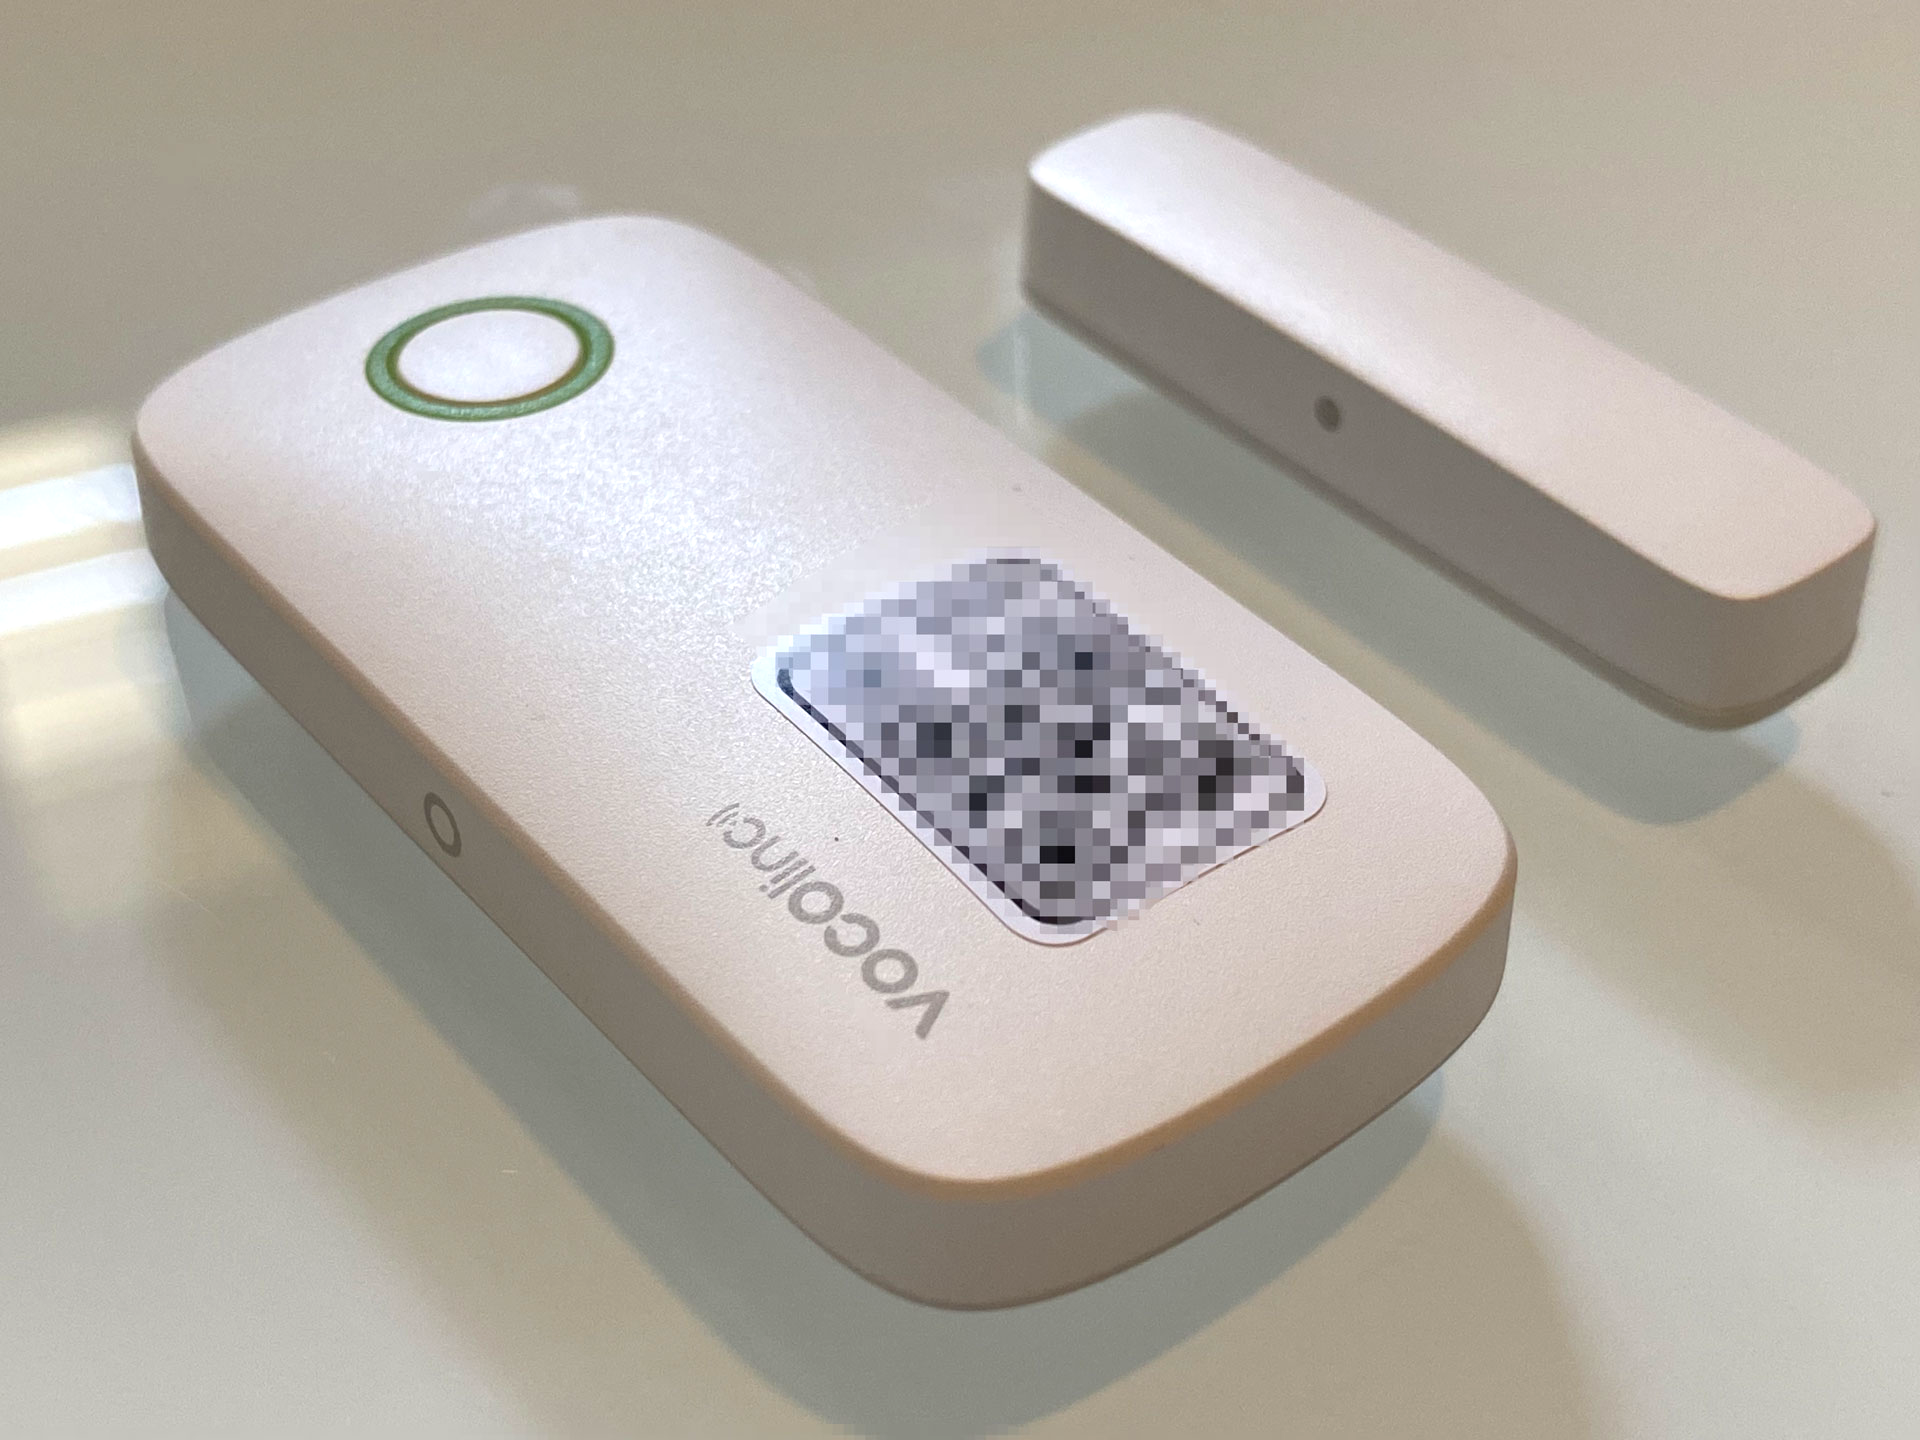
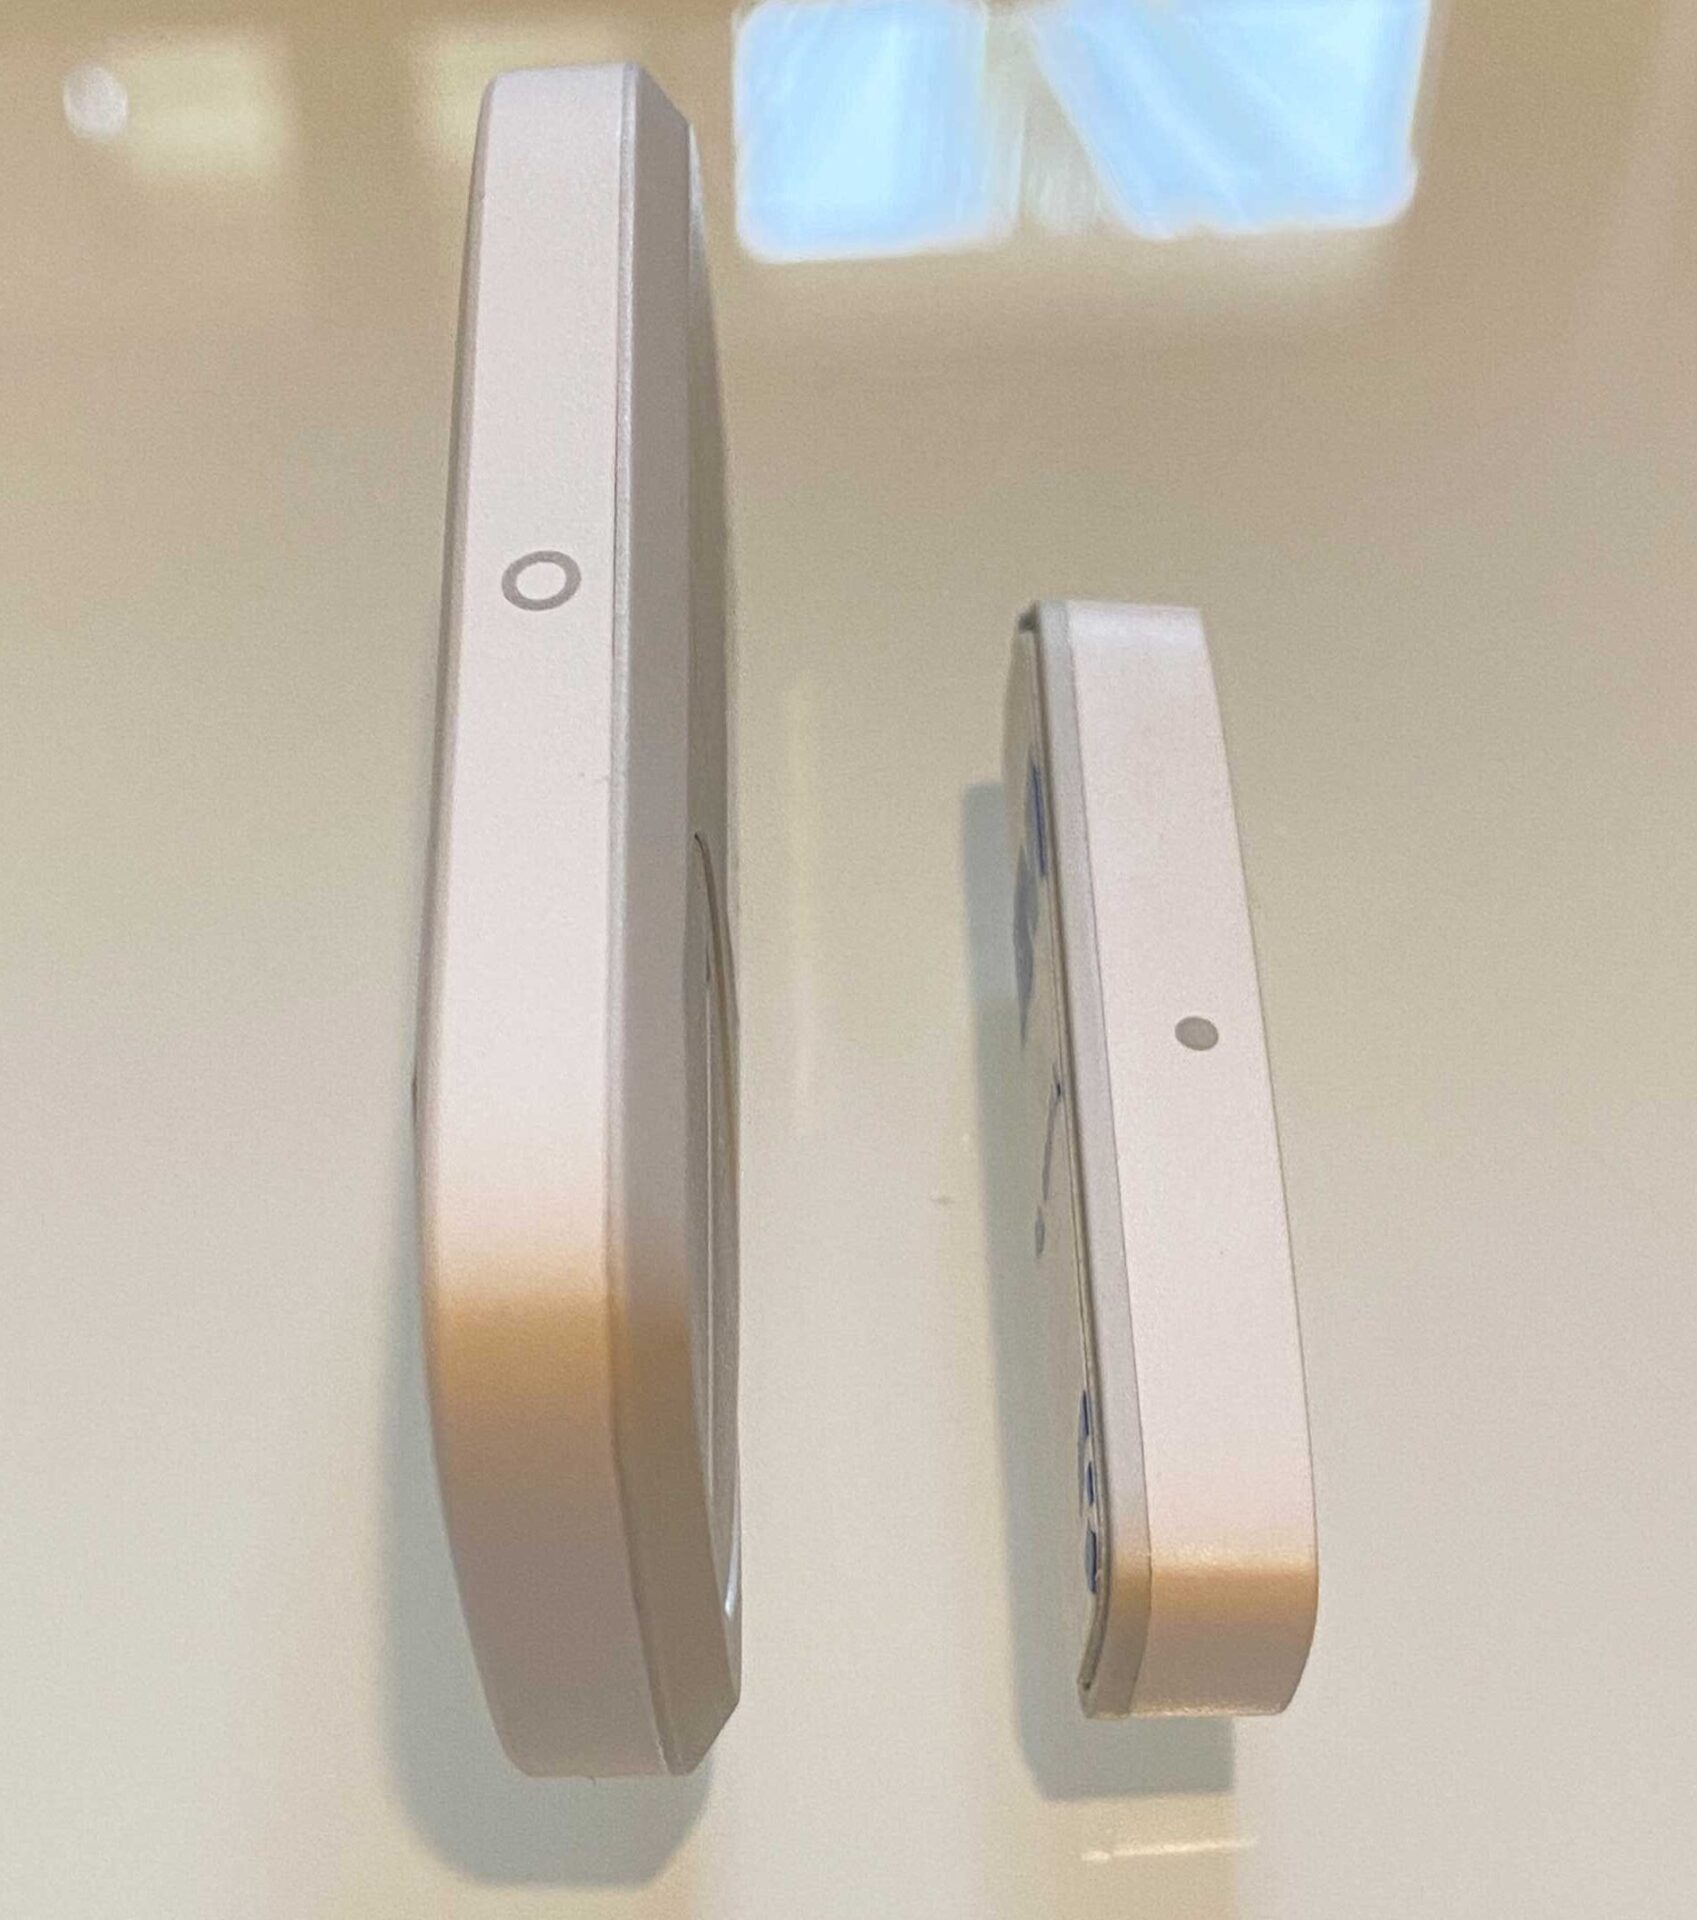
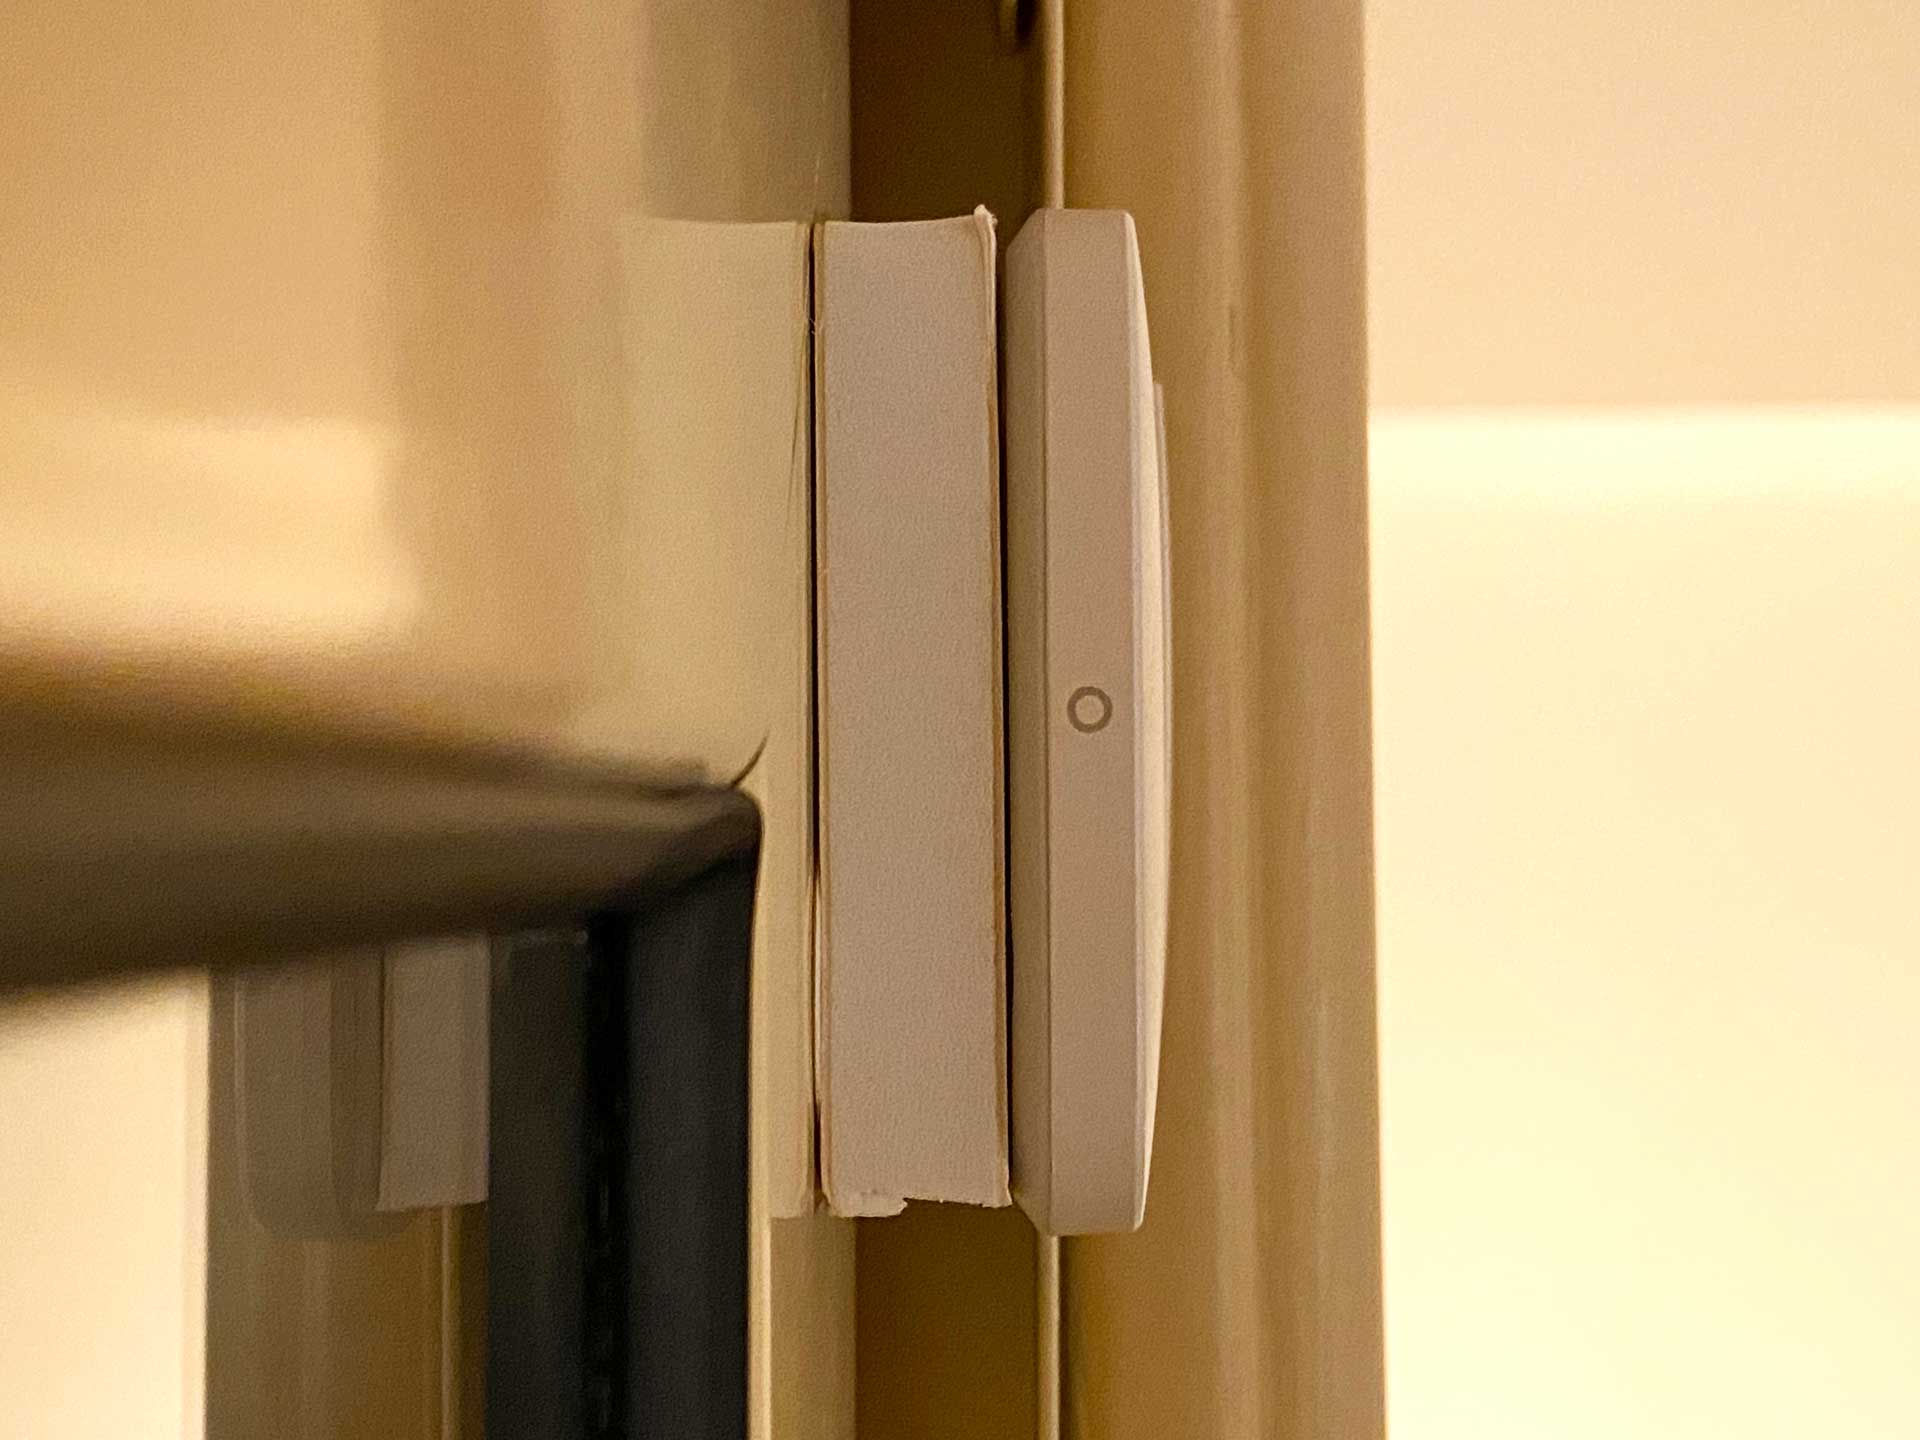
The sensor is on the small side compared to the competition, which is good and bad. Due to its small size, it may not fit all the windows and may not be the right choice for everyone. The sensor comes in at 30 x 63.5 x 9.6 mm, and the magnetic piece at 11 x 45 x 8 mm. The small size might not be an issue for everyone, but I had problems fitting the sensor to my windows. It is something worth noting, and I had to mention it. However, I solved the issue by using some of the packaging the sensor came in. I must say though it is not the most elegant solution in the world, it works.
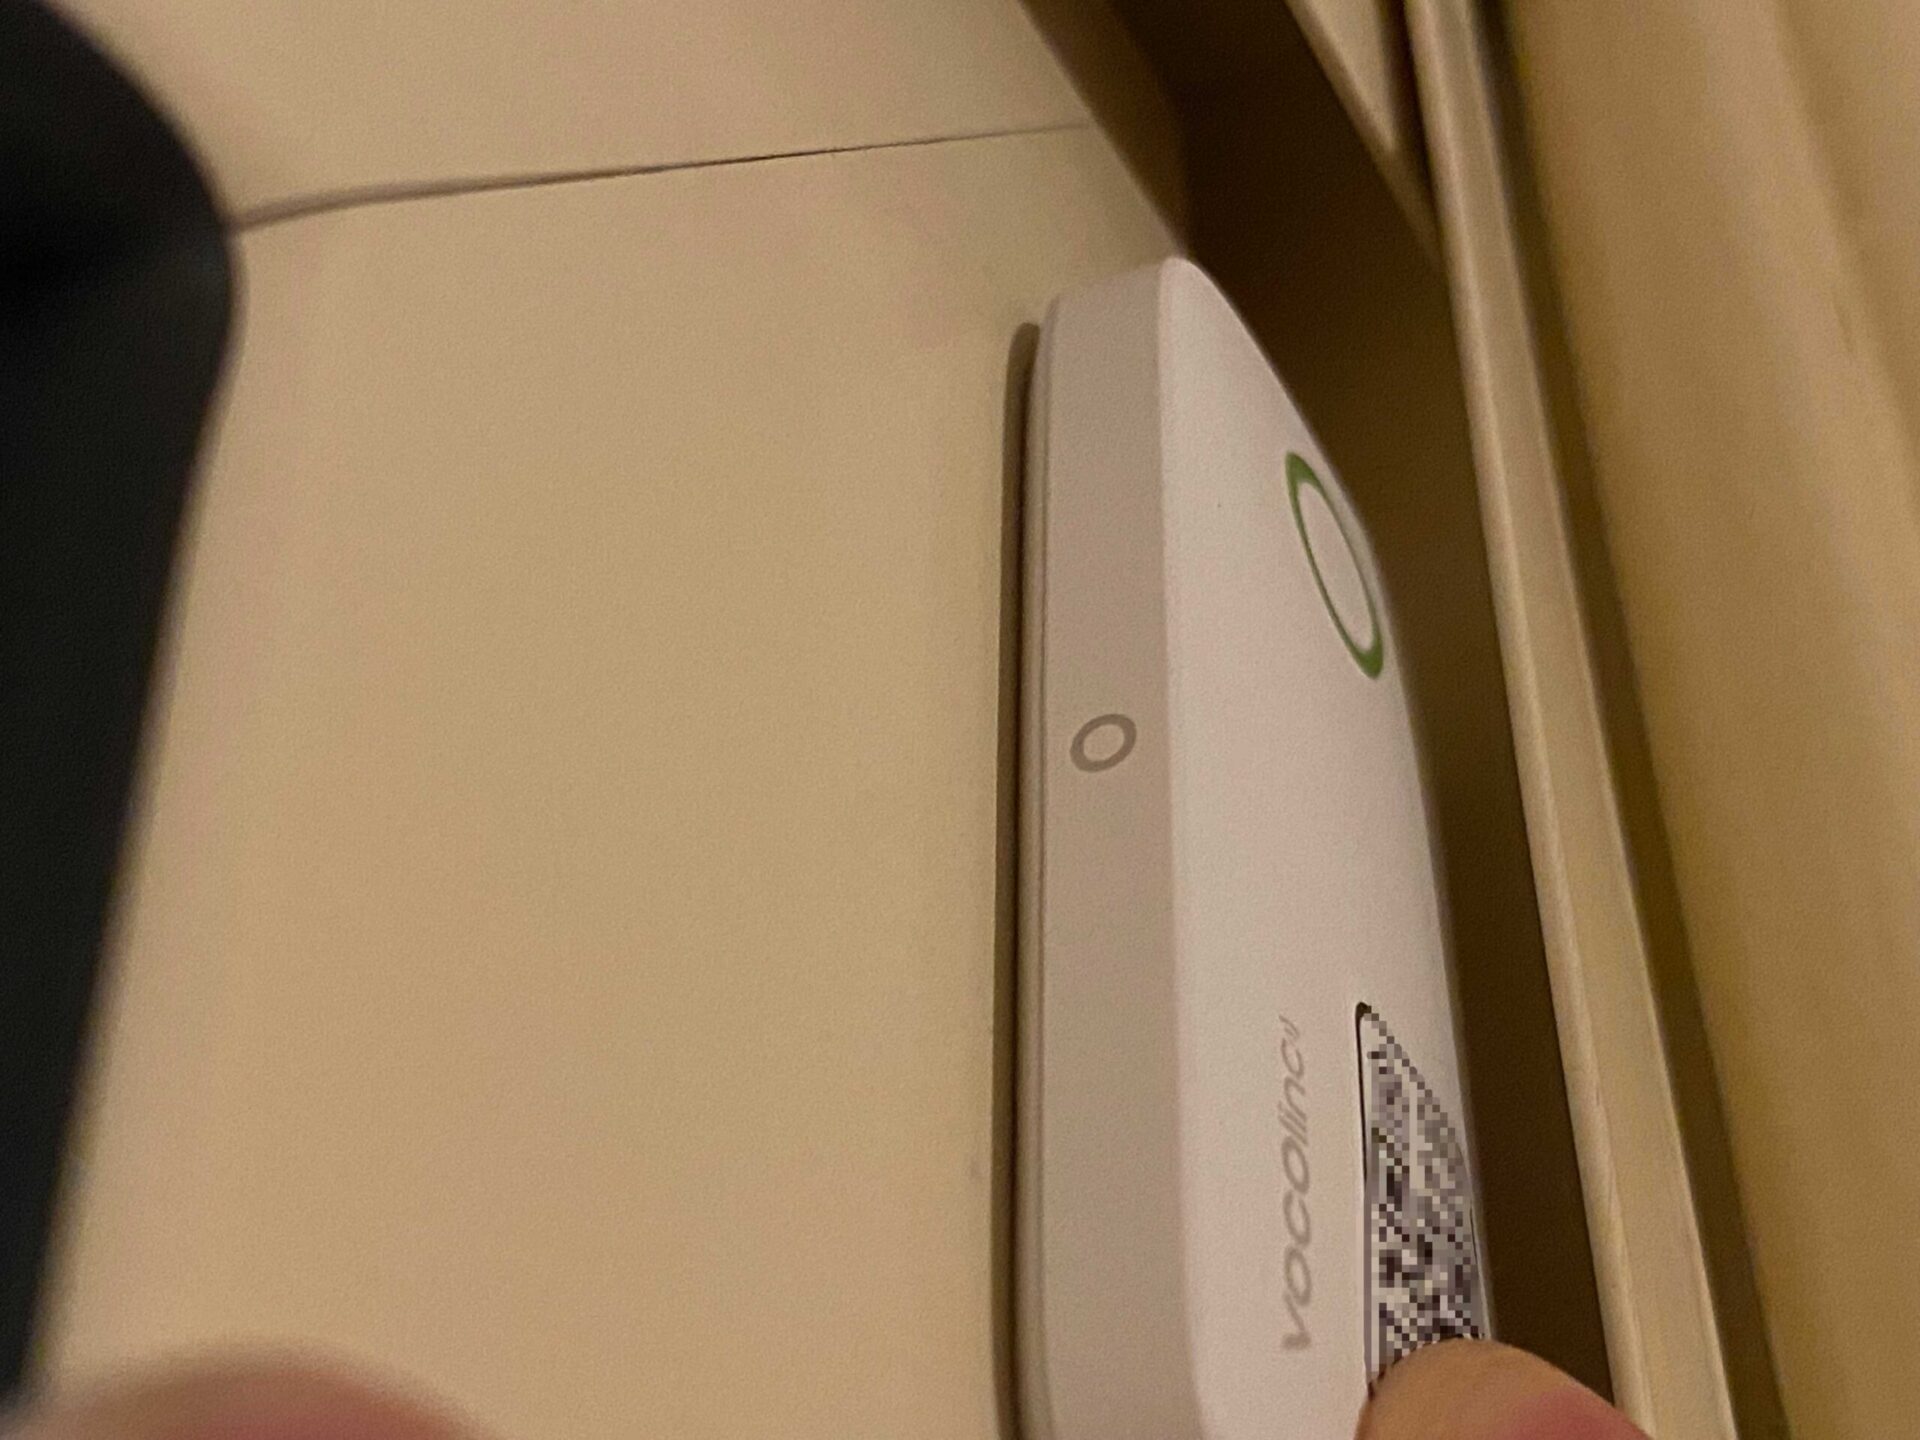
The nice feature is that the magnetic piece can be placed on either side of the sensor. So you should have no issues finding the correct setup for your needs. You will find the HomeKit code on the front side of the sensor itself. The reset button can also be found on the front side, and it is surrounded by a green LED light. The LED light will blink every time the sensor is triggered.

Set-up process
The setup process was straightforward and effortless. As it is a HomeKit product, you don’t really need to download the VOCOlinc app if you do not own any other VOCOlinc devices. However, it is recommended as you might need to install a firmware update down the line. There was no update during my setup process.
To set up the sensor, all you want to do is open the Home app on your iPhone or iPad and tap the plus + sign in the top right corner. Now you will be asked to scan the HomeKit code, which you can get from either the sensor or the backside of the manual. Note that the HomeKit code in the manual is not the QR code version. Once you scan the code and after the initial setup, the accessory will be added to your home.
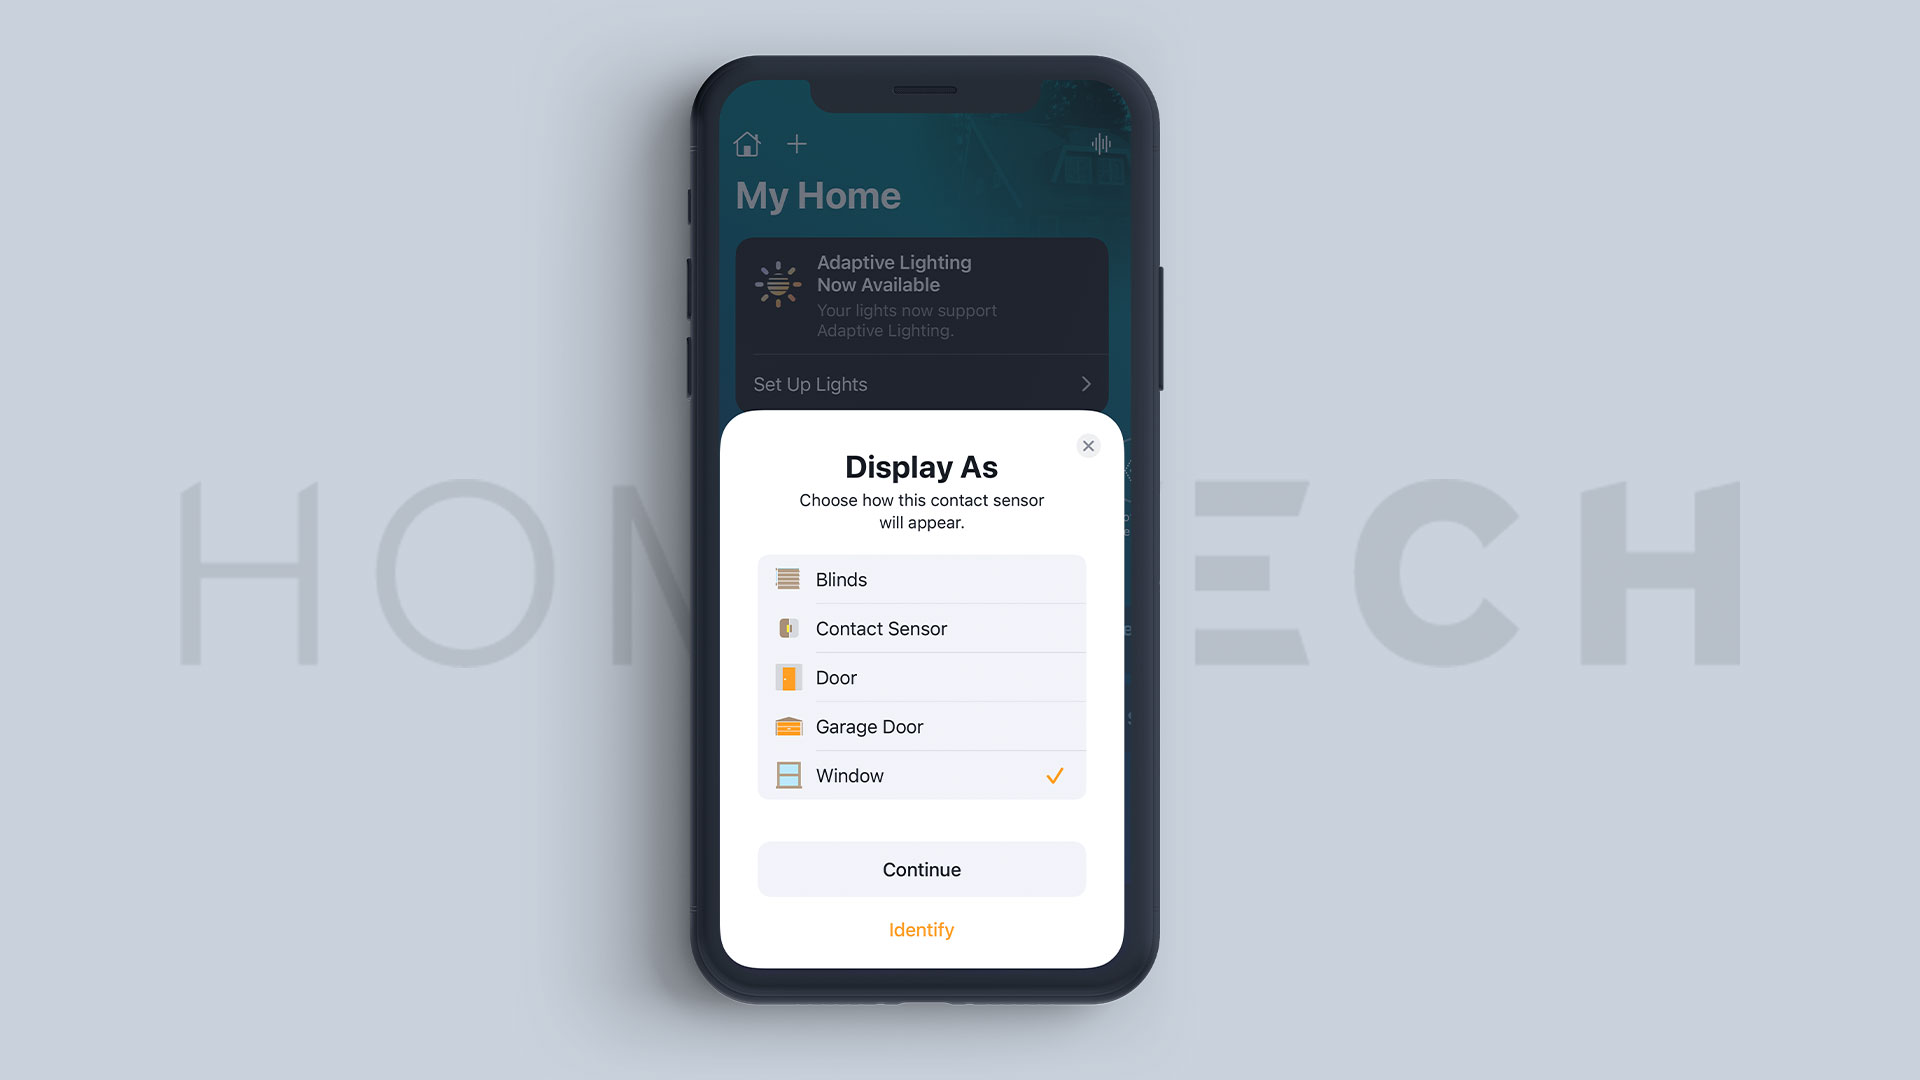
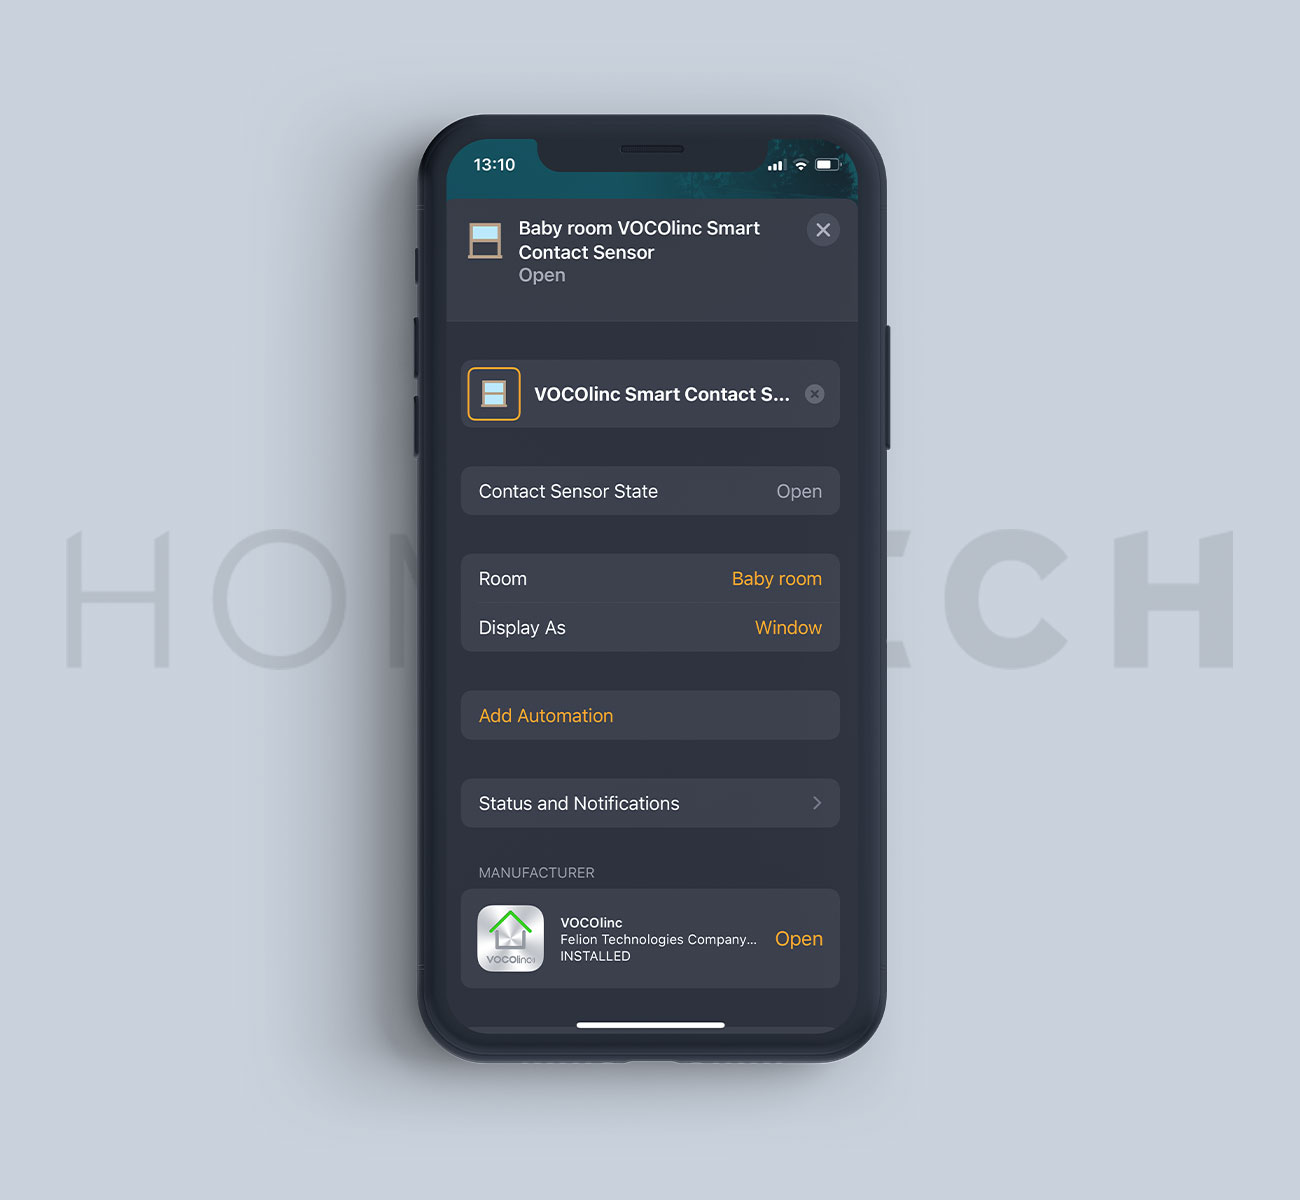
You can choose how you want the sensor to be displayed in your home app during the setup process. You can select it to be displayed as blinds, contact sensors, doors, garage doors, or windows. After the setup is complete, the sensor is ready for use. Now you should probably test out the sensor before you will mount it permanently on your door or window. You can do that by simply moving the magnetic piece away from the sensor and then bringing it back close and checking the accessory status in the home app. Once everything works as intended, you can go ahead and mount it to its desired location.
Functionality
So how does the sensor performed so far? Well, I’ve been using it for a month now, and so far, it has worked without any issues. Initially, my concern was that the sensor’s Bluetooth connectivity would not be good enough and that the sensor would be slow to respond. I only had one short initial loss of connection after I mounted it on the window frame. I suspect it was only for a few moments until it picked up the Bluetooth connection from my HomePod mini. After this, I did not experience any connection issues whatsoever. The sensor is mounted in the next room where my HomePod mini is, and it still works just fine.
The reaction times are not bad either for a Bluetooth device. It takes just a second or two to receive the notification that the sensor has been triggered, which is perfectly acceptable for a Bluetooth device. I’m not sure if the VS1 would support Zigbee; its response times would make a noticeable difference. I already have other Zigbee devices in my home, and I didn’t notice any significant delays in using Bluetooth compared to the Zigbee devices.
There is the added benefit that the sensor will still work if there is a loss of power. The sensor should keep a Bluetooth connection to your phone, so it should still function. What I would like to see is an updated version with Thread support. It may perhaps also improve the battery life, which may be the biggest weakness of this sensor.
Cons
So far, it was the good stuff. Now for the bad stuff. VOCOlinc claims 6 months of battery life, which seems relatively short compared to the competition. Some sensors can last up to 2 years. It’s just one more thing to keep in mind: you have to replace the battery in your door sensor. I can not confirm the battery life yet as I have been using the device only for a couple of months, but I will be sure to update the post once I need to replace the battery.
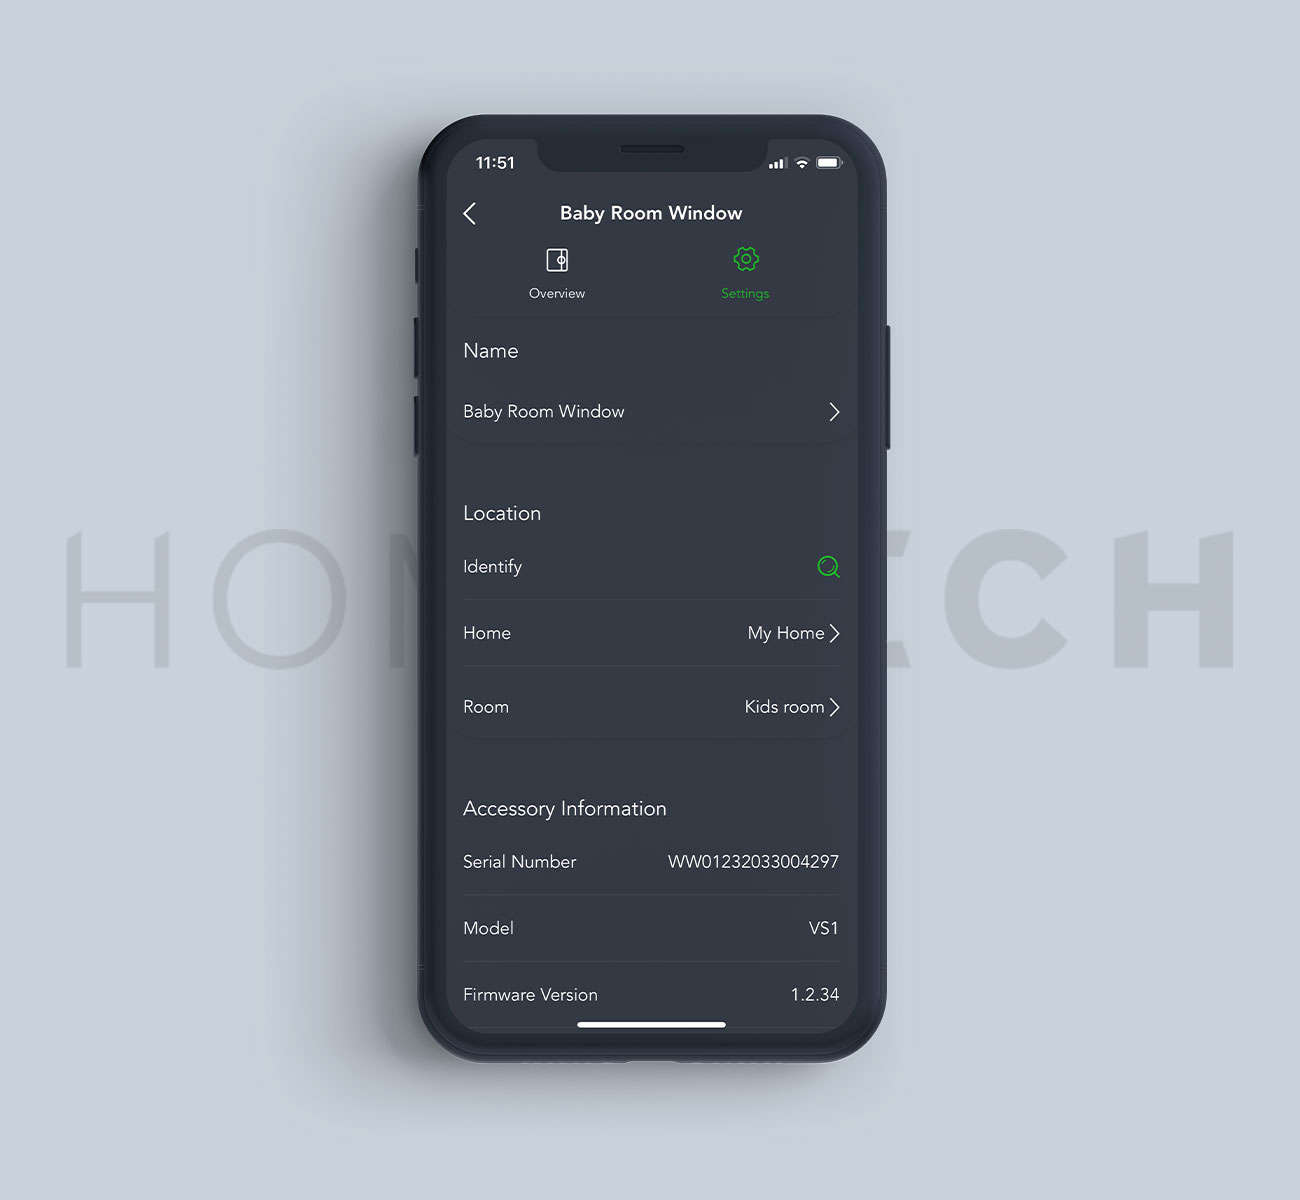
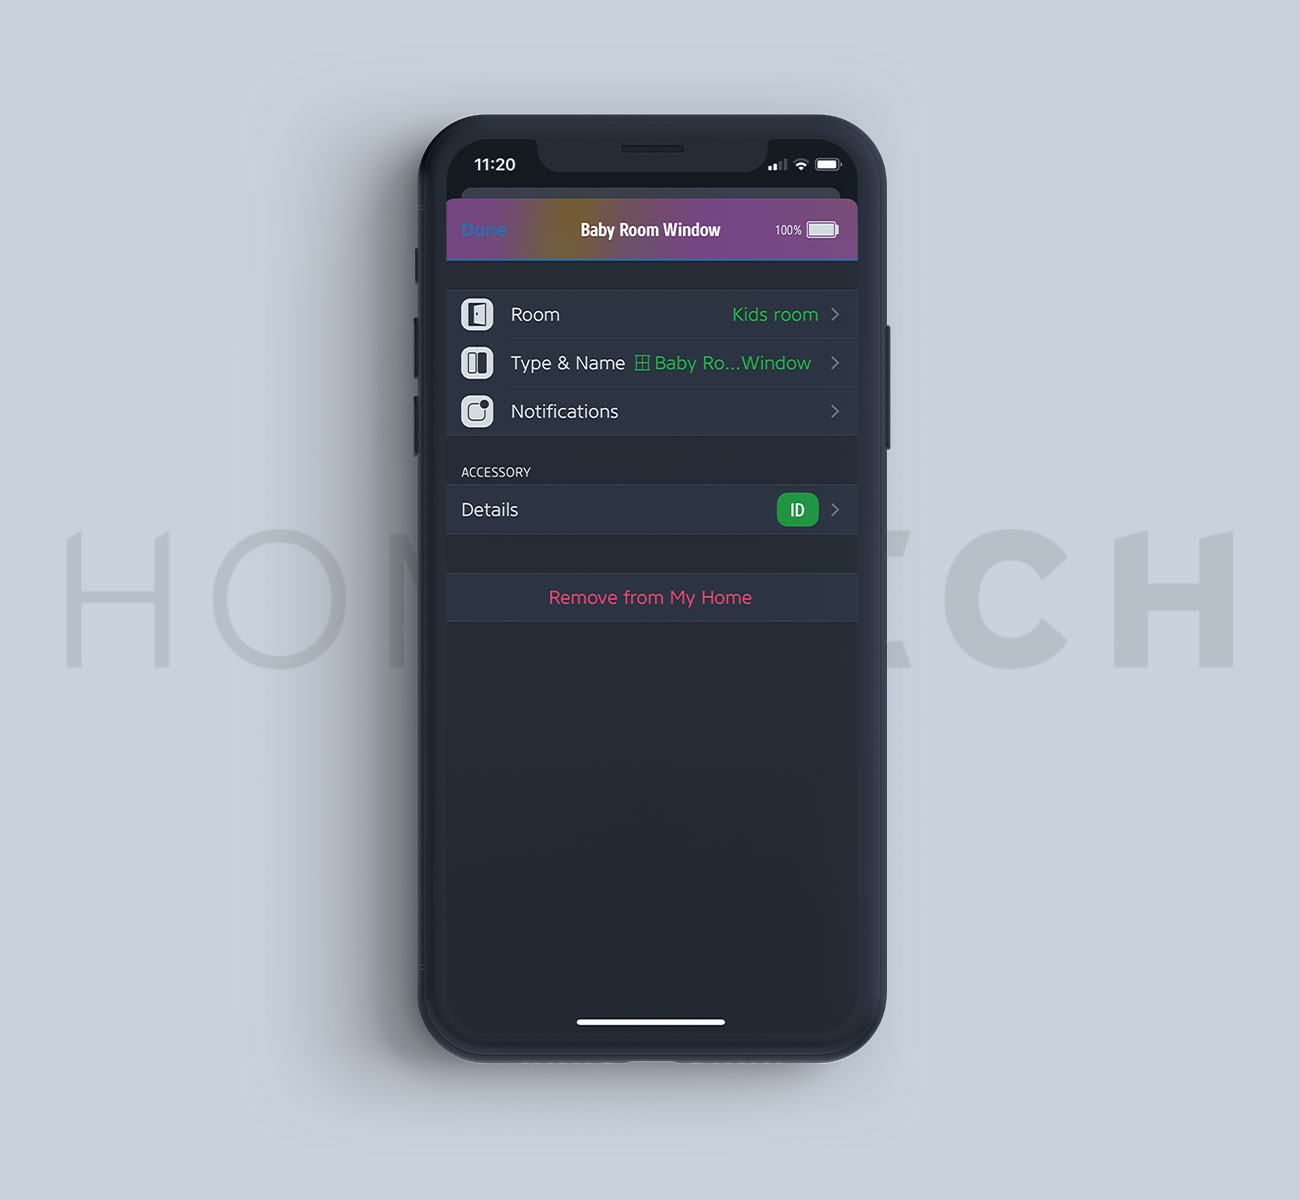
Another thing where I would like to see an improvement is in the details you are given in the Home app. For instance, you are not able to see the battery level of the sensor. And you will not be able to see the battery level in the VOCOlinc app either. There is just no way to see it without using a third app. For a device that lasts up to 6 months on a battery, I think it is pretty important to see it. Even the Ikea shortcut button has these options available, and you can check the battery level at any time.
And it’s not like the sensor is not reporting this information because you can see the battery level in the Eve app. The only reason I know this is because I have some Eve devices in my home, and I decided to check the Eve app to see if it is any different. So far, after a month of use, the battery is still at 100%, which is a positive sign.
Should you buy it?
It depends on how you plan to use it and if you will get the intended use out of it. By itself, the sensor is not something that you really need to have in your smart home but can very quickly become much more helpful if paired with automation. For instance, I have set up an automation in my kids’ nursery where the air purifier turns off when we open a window and turn back on when the window is closed. You can use it to trigger your alarm system when a door or a window is opened. Although you have to keep in mind that the battery only lasts for 6 months, so you probably shouldn’t.
Or you can check the status of your doors and windows from anywhere. For my wife and me, it is handy. When we leave the house, we often forget to close a window, specifically in the bedroom (You are welcome, burglars). Now it saves us a trip of getting out of the car, going back into the house, unlocking the front door, and going all the way to the bedroom just to check if the window was closed as you can just pull out the phone from your pocket and check it in the home up. Or even better, ask Siri, and you don’t even have to pull out the phone from your pocket.
So the question of whether you should buy it depends on your intended use for it. If you are already on the market looking for a door and window sensor, then yes, I could recommend this one. Especially if your budget is small or you don’t want to spend too much. For the price, the product is very compelling. But it again depends on where you live as the price may vary by region.
However, don’t forget to look into the other competing products as the Aqara sensors are reasonably priced, assuming you already have other Aqara devices and you already own the required hub or plan to get other Aqara devices as well.