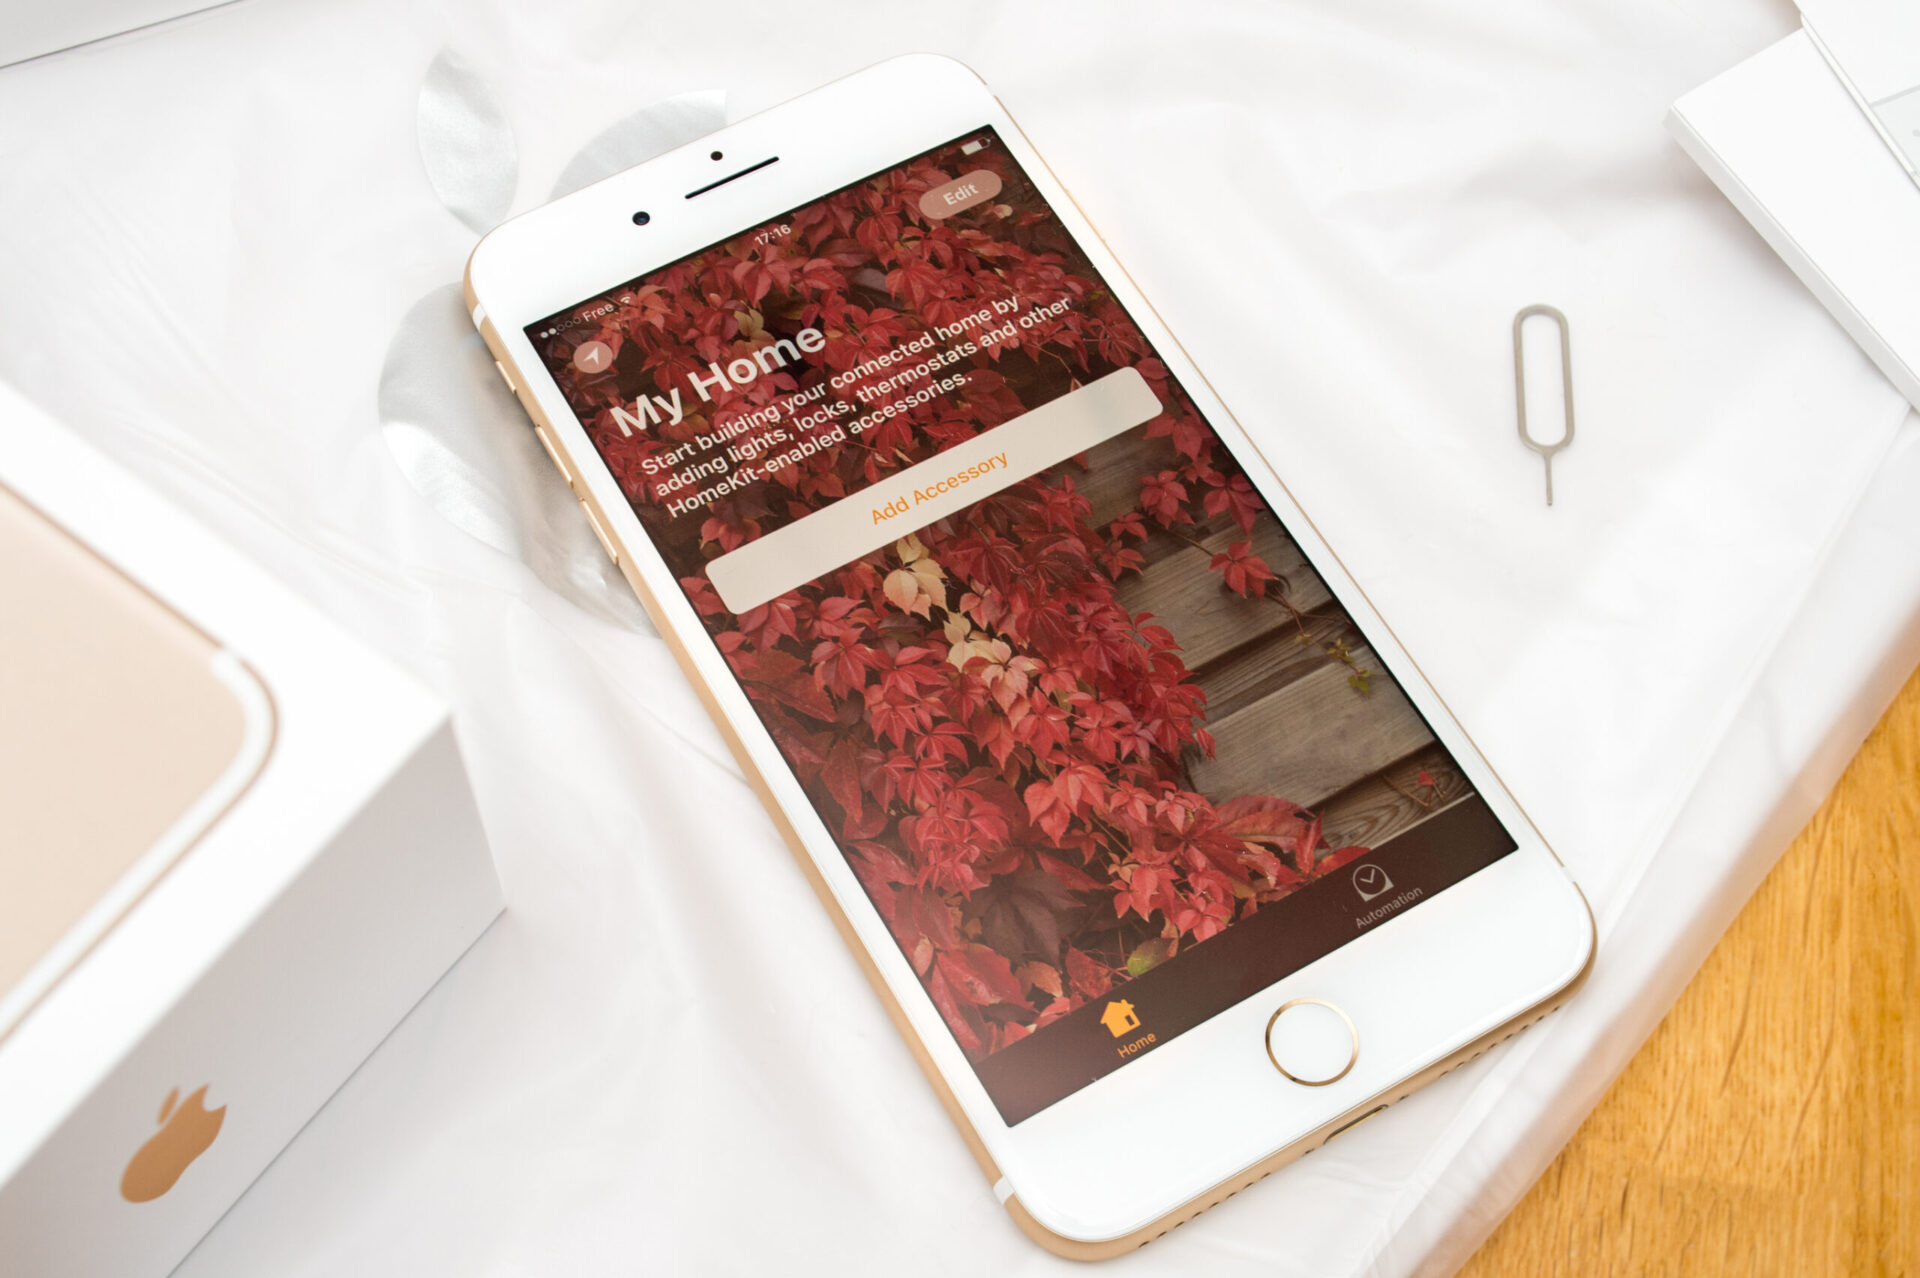
Welcome to part 2 from the Apple Home app overview series. In the first post, we have checked the general overview of the Apple Home app. If you did not read it you can find it here. Now that you are familiar with the Home app it’s time to add your first accessory to your smart home. So let’s get started.
HomeKit Code
In order to add and setup a HomeKit enabled accessory to your home, you will need a HomeKit code. It is a small sticker with a series of numbers and a QR code. It is unique to each accessory. Some accessories will also have the option to add them using an NFC chip. This is done by simply holding your phone near the accessory.
The HomeKit code is usually found inside the packing. Some manufactures will also include extra stickers with the code and you can also find it on the accessory itself.
It is really important that you save the code after you added the accessory and you store it in a safe place should you ever need to reset and re-add the same accessory again.
One place where you can keep your codes is directly in the Home app itself in the notes section. You can also take a photo from the code and store it in iCloud or you can use an app such as HomePass.
Adding accessories
There are a couple of ways you can add accessories to the home app. The process will depend on the accessory and you will be adding and who is the manufacturer.
You can either add it directly from the Home app by tapping the Plus icon and select the “Add Accessory”.
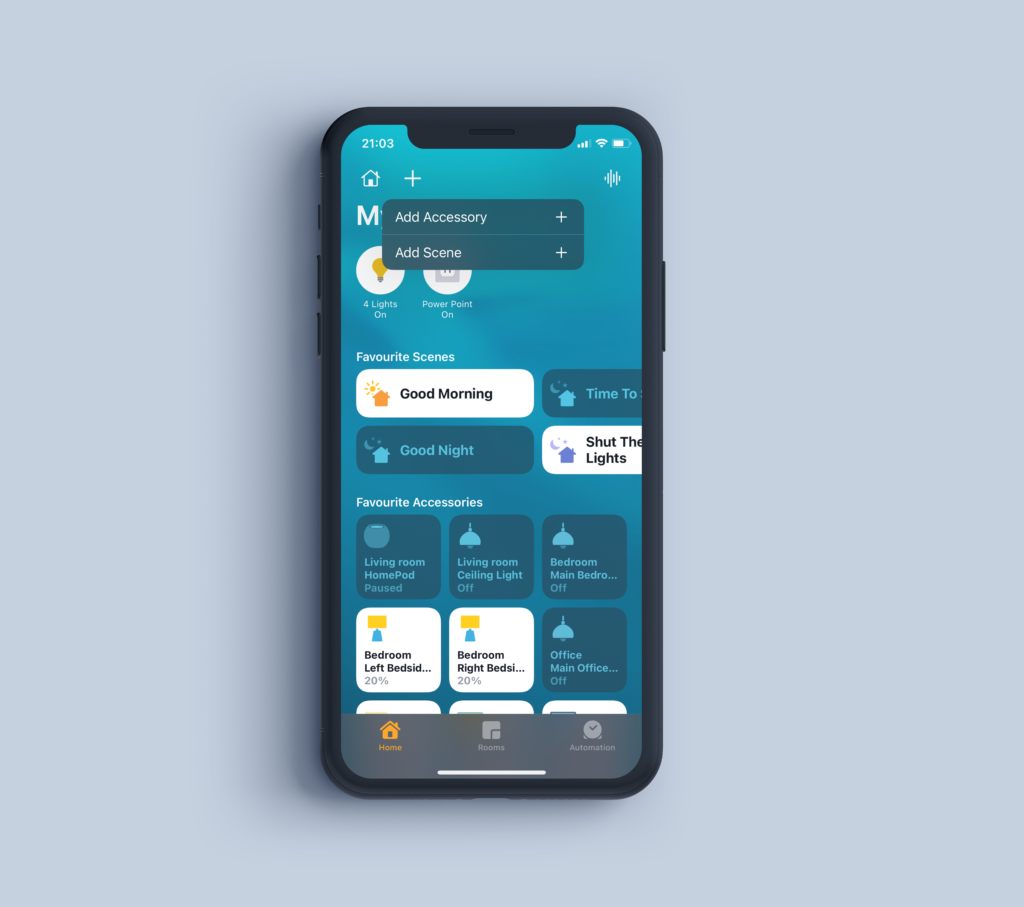
Or the second option is to download the manufacturer app first for the accessory you are trying to add. Start the setup process through the app and when you are prompted agree to add it to the Home app. For example, if you are trying to add some Philips Hue lights you would need the Philips Hue app to set up your lights.
The recommended option is to always use the manufacturer app and only add the accessories to HomeKit when you are prompted to do so. This way you can download any firmware updates that might have been released.
Now that you know what is a HomeKit code and which is the recommended way of adding new devices to your home we can move on to the exiting part of adding accessories to your home.
Guide
In this tutorial will we will add the Nanoleaf Shapes decoration lights. The process will be very similar to any other accessories once you pass the app-specific steps.
First, we will need to download the Nanoleaf app from the App Store. Once downloaded we will need to open the app and follow the on-screen instructions. The general steps will be pretty much the same across the board. In the case of the Nanoleaf app, you will be required to sign up for an account. After you have signed up and logged in you can start adding the light.
Once you select to add in our case light in the Nanoleaf app on the next screen, you will be prompted to scan the HomeKit code.
Find the code on the accessory or a sticker inside the packaging and simply scan it with your phone. The Home app will detect what type of accessory you are trying to add. In our case, it is identified as a light.
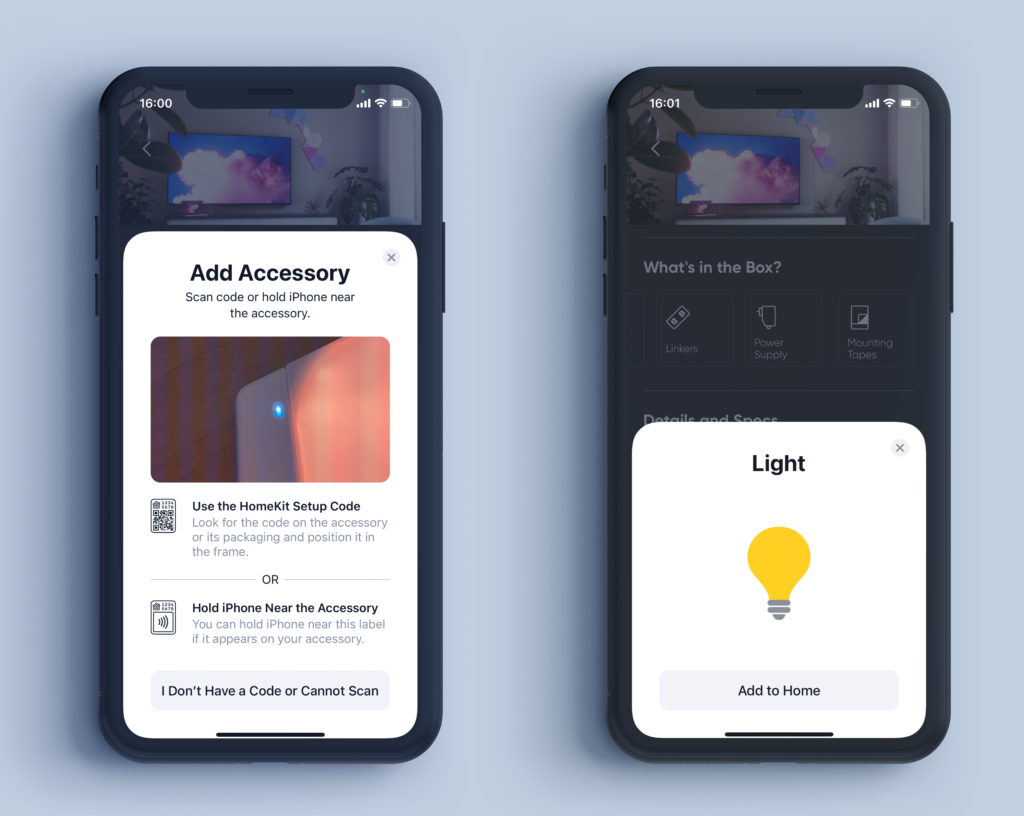
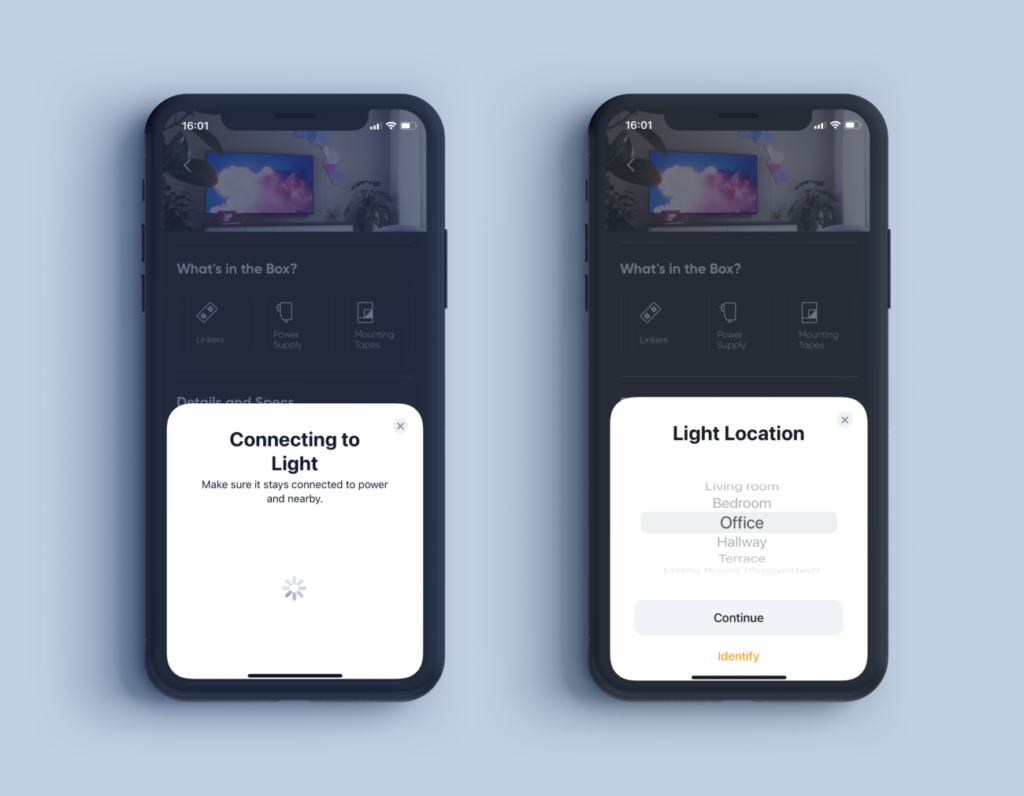
On the next screen tap the Add to Home. Your phone will try to connect to the accessory you just added. Upon a successful connection, you will be prompted to choose the location of the accessory. You can always change it later after you added the accessory. If you are happy with your selection tap Continue. You may be also given the option to rename the accessory but it may not always be the case as you can rename it later from the app you are using to set up the accessory and it will update the name in HomeKit for you as well.
On the next screen, you will be prompted to add the accessory to your home automation. By default, you will be shown the “When first-person arrives, Turn On” and the “When last person leaves, Turn Off” options. If you are sure that you will be using the accessory with these automations you can enable this option right away. However, you can always change it and enable this option later. So you can skip this step altogether and tap Continue.
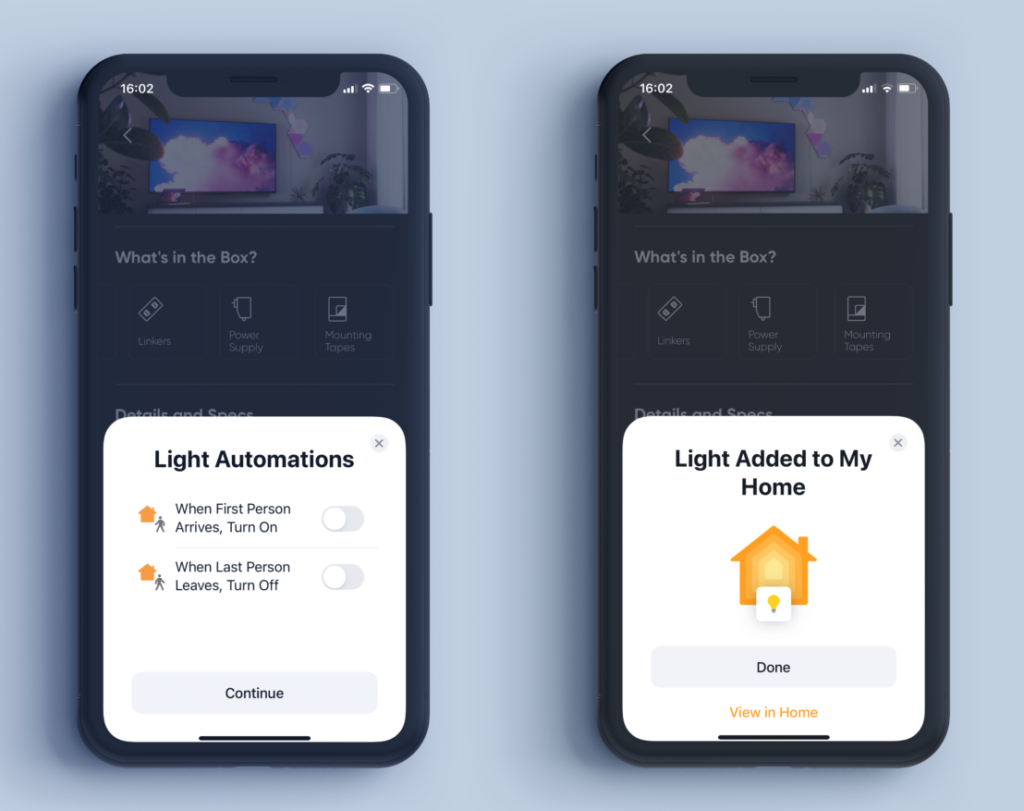
If you have completed all the steps you will be shown a message that the accessory was added to your home. Tap Done.
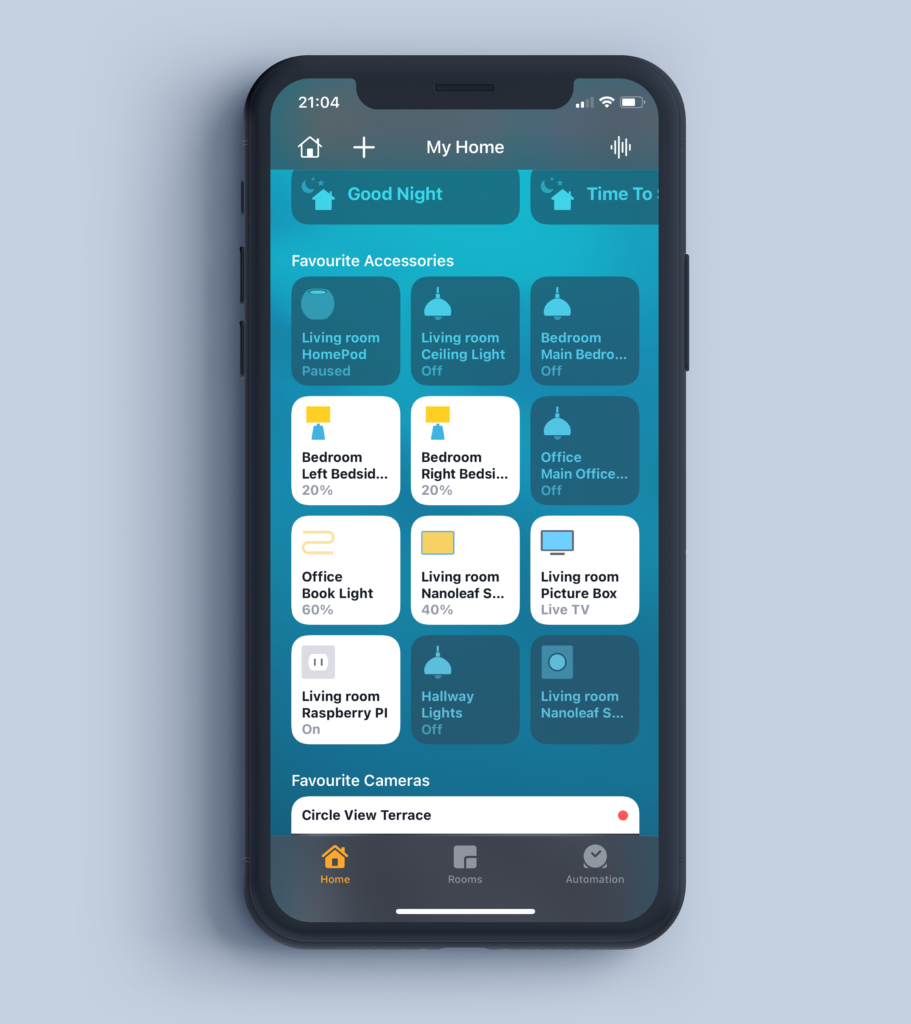
Congratulations, you have just successfully added your first accessory to your home. Now you can use the Home app to control the accessory you just added, or use your voice and ask Siri to do it for you.
You can read the Apple Home app overview and guide – part 1 here.
